
A progressive 8–12 week plan built around a Zone 2 aerobic base, twice-weekly leg and core strength work, and weekly progressive weighted hikes will reliably prepare you for high-elevation trekking. That prescription holds whether you live near mountains or in the flattest state in the country. Starting a structured training program several weeks before a high-altitude trip and building gradually across cardio, strength, and pack-carry work reduces the physiological cost of altitude in a way that cramming a few hard weeks never will.
Here is your immediate action plan for the next 72 hours:
- Start Zone 2 cardio today. A 45-minute brisk walk or easy jog at a conversational pace (roughly 60–70% of your maximum heart rate) is your first session.
- Schedule two strength sessions this week. Squats, lunges, step-ups, and a deadlift variation are the core moves. Thirty minutes is enough to start.
- Plan one progressive pack hike this weekend. Even a stairwell or a treadmill at 10–12% incline with a 15-pound pack counts as specificity training.
- Check your footwear and pack fit now, not the week before you fly.
The rest of this guide expands each pillar with sets, reps, sample weeks, altitude safety guidance, and recovery strategies so you can build confidently toward summit day.
Table of Contents
- Why elevation hikes demand a different kind of fitness
- The three pillars of physical conditioning for elevation hikes
- How to build your cardio engine for uphill work
- Strength training that protects your legs and knees
- How to simulate trail demands without mountains nearby
- Your 8–12 week progressive training plan
- Altitude acclimatization: what training can and cannot do
- Supplemental tools: portable oxygen, pulse oximeters, and altitude tents
- Nutrition, hydration, and recovery at altitude
- Key Takeaways
- What most hikers get wrong about altitude preparation
- Revo2 portable oxygen for altitude hikers
- Useful sources and further reading
Why elevation hikes demand a different kind of fitness
Standard cardio fitness and flat-distance hiking leave two critical gaps. The first is aerobic: at altitude, reduced atmospheric pressure means each breath delivers less oxygen to working muscles. Your body compensates by breathing faster and driving your heart rate higher for the same pace, which is why a fit runner can feel winded on a moderate trail at 10,000 feet. A larger aerobic engine, specifically a higher VO2 max (your body’s maximum rate of oxygen consumption), lowers the relative cardiovascular “tax” of every step you take above sea level.
The second gap is mechanical. Sustained uphill hiking loads the quads, glutes, and calves under a pack for hours at a time, accumulating local muscular fatigue that flat running never replicates. Downhill sections compound the problem: eccentric muscle contractions during descent generate more joint stress than the climb itself, and unprepared knees pay for it the next morning. Addressing both gaps is what separates a hiker who finishes strong from one who shuffles into camp with wrecked legs.
The three pillars of physical conditioning for elevation hikes
Every effective altitude training program rests on three pillars. Neglect any one of them and the other two cannot fully compensate.
- Pillar 1: Uphill engine (aerobic base). Long, steady Zone 2 sessions build the cardiovascular capacity to sustain effort for many hours. Periodic higher-intensity intervals push your VO2 max ceiling higher, so the same trail pace feels easier. This pillar takes the most time to build and the most time to lose, so start it first.
- Pillar 2: Durable legs and core (strength). Compound lower-body lifts build the muscular endurance and joint stability to handle repeated ascent and descent under load. Core work keeps your posture efficient under a pack, reducing energy waste and back fatigue over long days.
- Pillar 3: Specificity (pack and terrain practice). Neither the gym nor the treadmill fully replicates the movement patterns of hiking with a loaded pack on uneven ground. Progressive weighted hikes, stair repeats, and incline treadmill sessions teach your body the exact motor patterns and load tolerances it will need on the trail.
A structured 12-week program that mixes aerobic sessions, strength training, and practice hikes is the standard recommendation for high-altitude readiness, and the three-pillar framework is why that structure works.
How to build your cardio engine for uphill work
Zone 2 training, at roughly 60–70% of your maximum heart rate, should form the largest share of your total training volume. At this intensity, you can hold a full conversation, your breathing is elevated but controlled, and you can sustain the effort for 60–90 minutes without accumulating the fatigue that kills the next day’s session. This is the aerobic base that makes altitude manageable.
Build your weekly cardio around four session types:
- Long Zone 2 session (60–90 minutes). A hike, brisk walk, or easy jog on varied terrain. Add a loaded pack once you reach week 5. This is your highest-priority weekly session.
- Stair or incline treadmill session (30–45 minutes). Stair machines, stair repeats, and incline treadmill work are the best sea-level substitutes for weighted pack hiking when mountains are not accessible. Set the treadmill to 10–15% incline and walk at a pace that keeps you in Zone 2.
- 4x4 interval session (once every 10–14 days). Four minutes at a hard effort (roughly 85–90% max heart rate) followed by four minutes of easy recovery, repeated four times. This session pushes your VO2 max and should be used sparingly, not as a weekly staple.
- Easy recovery walk or bike (20–30 minutes). Active recovery on rest days keeps blood moving without adding training stress.
Progression rule: add no more than 10% to your weekly cardio volume in any single week. In weeks 1–4, prioritize duration. In weeks 5–8, add pack weight and incline. In weeks 9–12, maintain volume while sharpening intensity with one interval session per week.
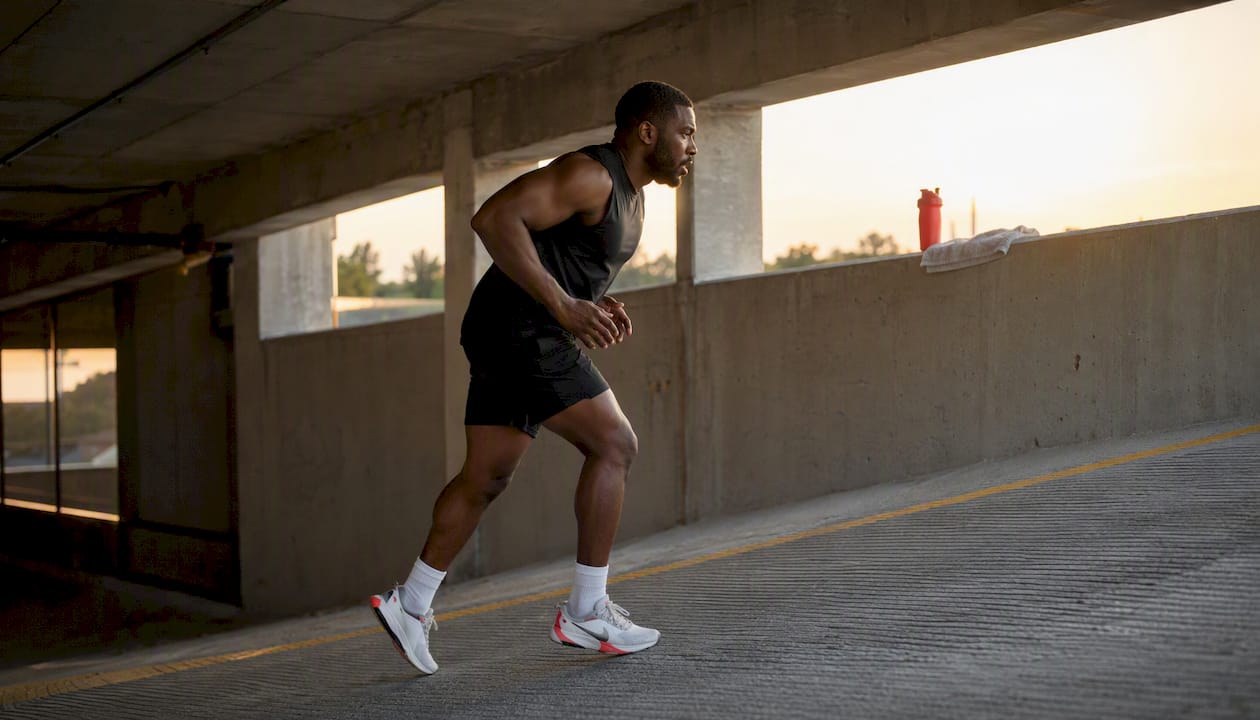
Pro Tip: If you live in a flat city, a parking garage is one of the most underused training tools available. Ramp laps with a loaded pack simulate sustained elevation gain without a treadmill subscription.
Strength training that protects your legs and knees
Strength training should focus on compound lower-body movements and core stability, with two sessions per week sufficient for most hikers. The goal is not bodybuilder hypertrophy. You are building muscular endurance, joint stability, and the eccentric control that protects your knees on long descents.

Priority exercises and programming
| Exercise | Sets x Reps | Primary Benefit |
|---|---|---|
| Back squat or goblet squat | 3 x 8–12 | Quad and glute strength for ascent |
| Split squat / reverse lunge | 3 x 10 per leg | Unilateral stability, hip balance |
| Step-up (weighted) | 3 x 10 per leg | Direct hiking specificity, knee drive |
| Romanian deadlift | 3 x 8–10 | Posterior chain, hamstring resilience |
| Slow eccentric squat (5-second lower) | 2 x 8 | Downhill knee control, DOMS reduction |
| Single-leg step-down | 2 x 10 per leg | Eccentric quad control on descent |
| Calf raises (single-leg) | 3 x 15 | Ankle stability, lower-leg endurance |
| Plank / side plank | 3 x 30–45 sec | Core stability under pack load |
For weeks 1–4, use lighter loads and focus on movement quality. In weeks 5–8, add weight progressively, capping increases at roughly 5–10% per session for lower-body lifts. In weeks 9–12, reduce volume slightly but maintain intensity to stay sharp without accumulating fatigue before your trip.
Eccentric-focused work deserves special attention. Downhill hiking places the quads under load while they are lengthening, which is the definition of eccentric stress and the primary driver of post-hike soreness and knee pain. Slow eccentric squats and single-leg step-downs train exactly this movement pattern.
Many hikers skip them entirely, which is why their knees ache on day two of a multi-day trek.
- Warm up before every session: 5–8 minutes of dynamic movement (leg swings, hip circles, bodyweight squats) before loading any barbell or dumbbell.
- Progress load conservatively: if your form breaks down, the weight is too heavy. Joint-friendly progressions matter more than hitting a number on the bar.
- Seek professional guidance if you have a history of knee, hip, or lower-back issues before adding heavy loaded work.
Pro Tip: Pair your strength sessions with injury prevention strategies for loaded movement to keep joints healthy across the full 12 weeks, especially as pack weight increases in the back half of the plan.
How to simulate trail demands without mountains nearby
Specificity is the principle that your body adapts most to the exact demands you train for. A hiker who only runs on flat roads will arrive at a mountain trail with a well-trained cardiovascular system and undertrained movement patterns. The fix is progressive weighted hikes and terrain-specific sessions.
Pack progression guidelines
| Week | Pack Weight | Session Duration | Elevation/Stair Proxy |
|---|---|---|---|
| 1–2 | No pack or 10 lbs | 45–60 min | Flat or gentle incline |
| 3–4 | 15 lbs | 60–75 min | Moderate incline or 20 stair flights |
| 5–6 | 20 lbs | 75–90 min | Sustained incline or 30 stair flights |
| 7–8 | 25 lbs | 90 min | High incline or 40+ stair flights |
| 9–10 | 25–30 lbs | — | Varied terrain or maximum stair count |
| 11–12 | Taper: reduce weight | 60–75 min | Moderate, maintain movement quality |
Pack-weight progression and long, progressive pack hikes are the single most transferable training exercises for mountain treks. The key principle is to prioritize time-on-feet adaptation before chasing heavy pack weight. A two-hour hike with 20 pounds builds more trail-specific fitness than a 45-minute session with 35 pounds and wrecked knees.
Flat-terrain substitutes that work:
- Stair repeats in a tall building or stadium (20–40 flights per session)
- Parking garage ramp laps with a loaded pack
- Treadmill at 10–15% incline for 45–90 minutes
- Weighted step-up circuits (a 12–18 inch box, loaded pack, continuous reps)
Checklist for a good specificity session:
- Pack weight logged and consistent with your progression table
- Time-on-feet target met before you stop
- Terrain varied where possible (uneven surfaces train ankle stability)
- Footwear and socks are the exact gear you plan to use on the trip
- Any hot spots or fit issues noted and addressed before the next session
Use these sessions to test your boots, socks, and pack fit. A blister discovered in week 4 of training is a minor inconvenience. The same blister discovered on day 2 of a 10-day trek is a trip-ending problem.
Your 8–12 week progressive training plan
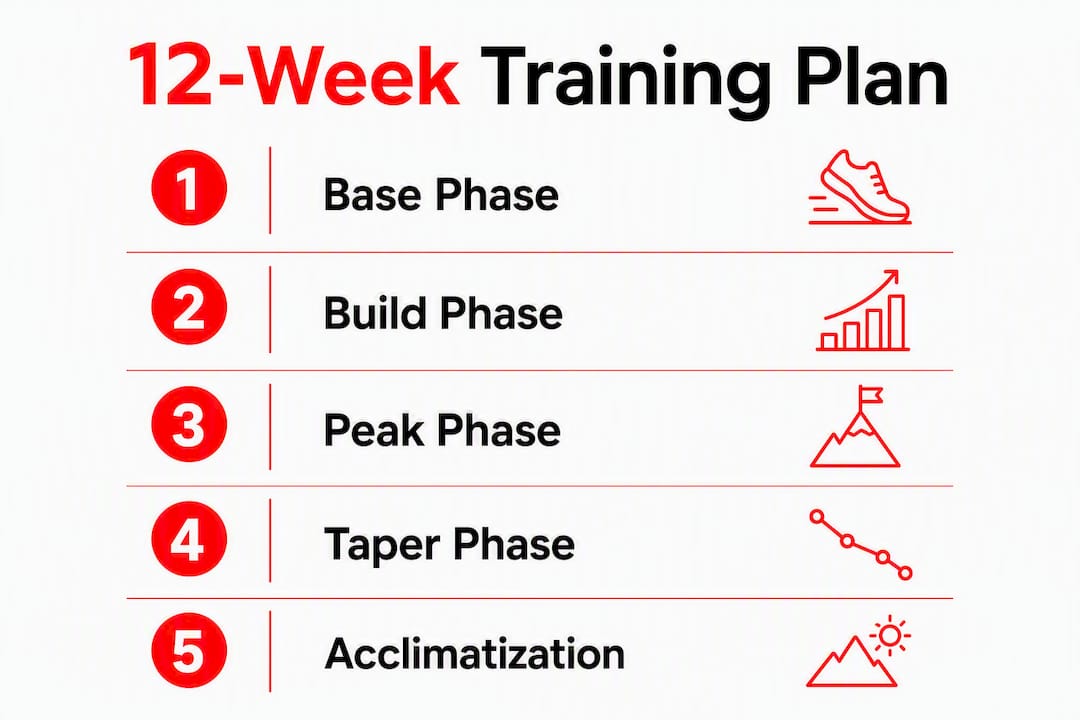
The plan divides into three phases: base (weeks 1–4), build (weeks 5–8), and peak/taper (weeks 9–12). Each phase shifts the emphasis while keeping all three pillars active.
Phase structure
| Phase | Weeks | Primary Focus | Volume Trend |
|---|---|---|---|
| Base | 1–4 | Aerobic base, movement quality, light pack | Gradual increase |
| Build | 5–8 | Pack weight, strength load, interval work | Moderate to high |
| Peak/Taper | 9–12 | Maintain fitness, reduce fatigue, gear test | Decrease last 10 days |
Example weekly templates
Beginner (3–4 days/week)
- Monday: 45-minute Zone 2 walk or easy hike
- Wednesday: 30-minute strength session (squats, lunges, step-ups, planks)
- Friday: 30-minute strength session
- Saturday: 60-minute progressive pack hike or stair session
Intermediate (4–5 days/week)
- Monday: 60-minute Zone 2 hike or incline treadmill
- Tuesday: 40-minute strength session
- Thursday: 45-minute stair or incline session with pack
- Friday: 40-minute strength session
- Sunday: 90-minute progressive pack hike
Advanced (5–6 days/week)
- Monday: 75-minute Zone 2 session
- Tuesday: 50-minute strength session (heavy compound lifts)
- Wednesday: 45-minute incline treadmill with pack
- Thursday: 4x4 interval session (30 minutes total)
- Friday: 50-minute strength session (eccentric focus)
- Saturday: 2-hour progressive pack hike on varied terrain
Taper rules (final 7–10 days before travel): Cut total volume by roughly 40%, keep one short strength session and one easy 45-minute cardio session, and do not introduce any new exercises or pack weight. Your fitness is already built. The taper’s job is to let your body arrive fresh.
Altitude acclimatization: what training can and cannot do
Training builds a larger aerobic engine, but it does not produce the physiological changes that come from actually being at altitude. True acclimatization requires time at elevation: your breathing rate adjusts, blood chemistry shifts, and over days to weeks, your body produces more red blood cells to carry oxygen more efficiently. None of that happens on a sea-level treadmill, no matter how steep the incline.
Plan your itinerary with acclimatization built in, not bolted on as an afterthought. The “climb high, sleep low” principle, ascending during the day and descending to sleep at a lower elevation, is one of the most effective strategies for reducing altitude sickness risk. Schedule at least one rest or acclimatization day for every 3,000 feet of elevation gain above 8,000 feet.
Warning signs that require immediate action:
- Persistent severe headache that does not respond to hydration or rest
- Confusion, disorientation, or difficulty walking a straight line (ataxia)
- Breathlessness at rest or while lying down
- Persistent nausea, vomiting, or inability to keep fluids down
- Unusual fatigue disproportionate to the day’s effort
If any of these symptoms appear, descend immediately. Do not wait to see if they improve at the same elevation. Altitude illness can progress rapidly, and descent is the most reliable treatment. A pulse oximeter can help you track oxygen saturation trends over time, but a single reading is less meaningful than a pattern of declining numbers. Use it as one data point, not a definitive verdict.
For medication options such as acetazolamide (Diamox), consult a physician before your trip. This article does not provide medical prescriptions. You can also review practical strategies to boost oxygen intake while trekking for non-pharmacological approaches.
This article provides general fitness and preparation information, not medical advice. Confirm current altitude health guidelines with a qualified clinician before any high-altitude trip, especially if you have cardiovascular or respiratory conditions.
Supplemental tools: portable oxygen, pulse oximeters, and altitude tents
Supplemental tools can support your experience at altitude, but none of them replace the physiological adaptations that come from gradual ascent and acclimatization. Understanding what each tool actually does helps you use it wisely.
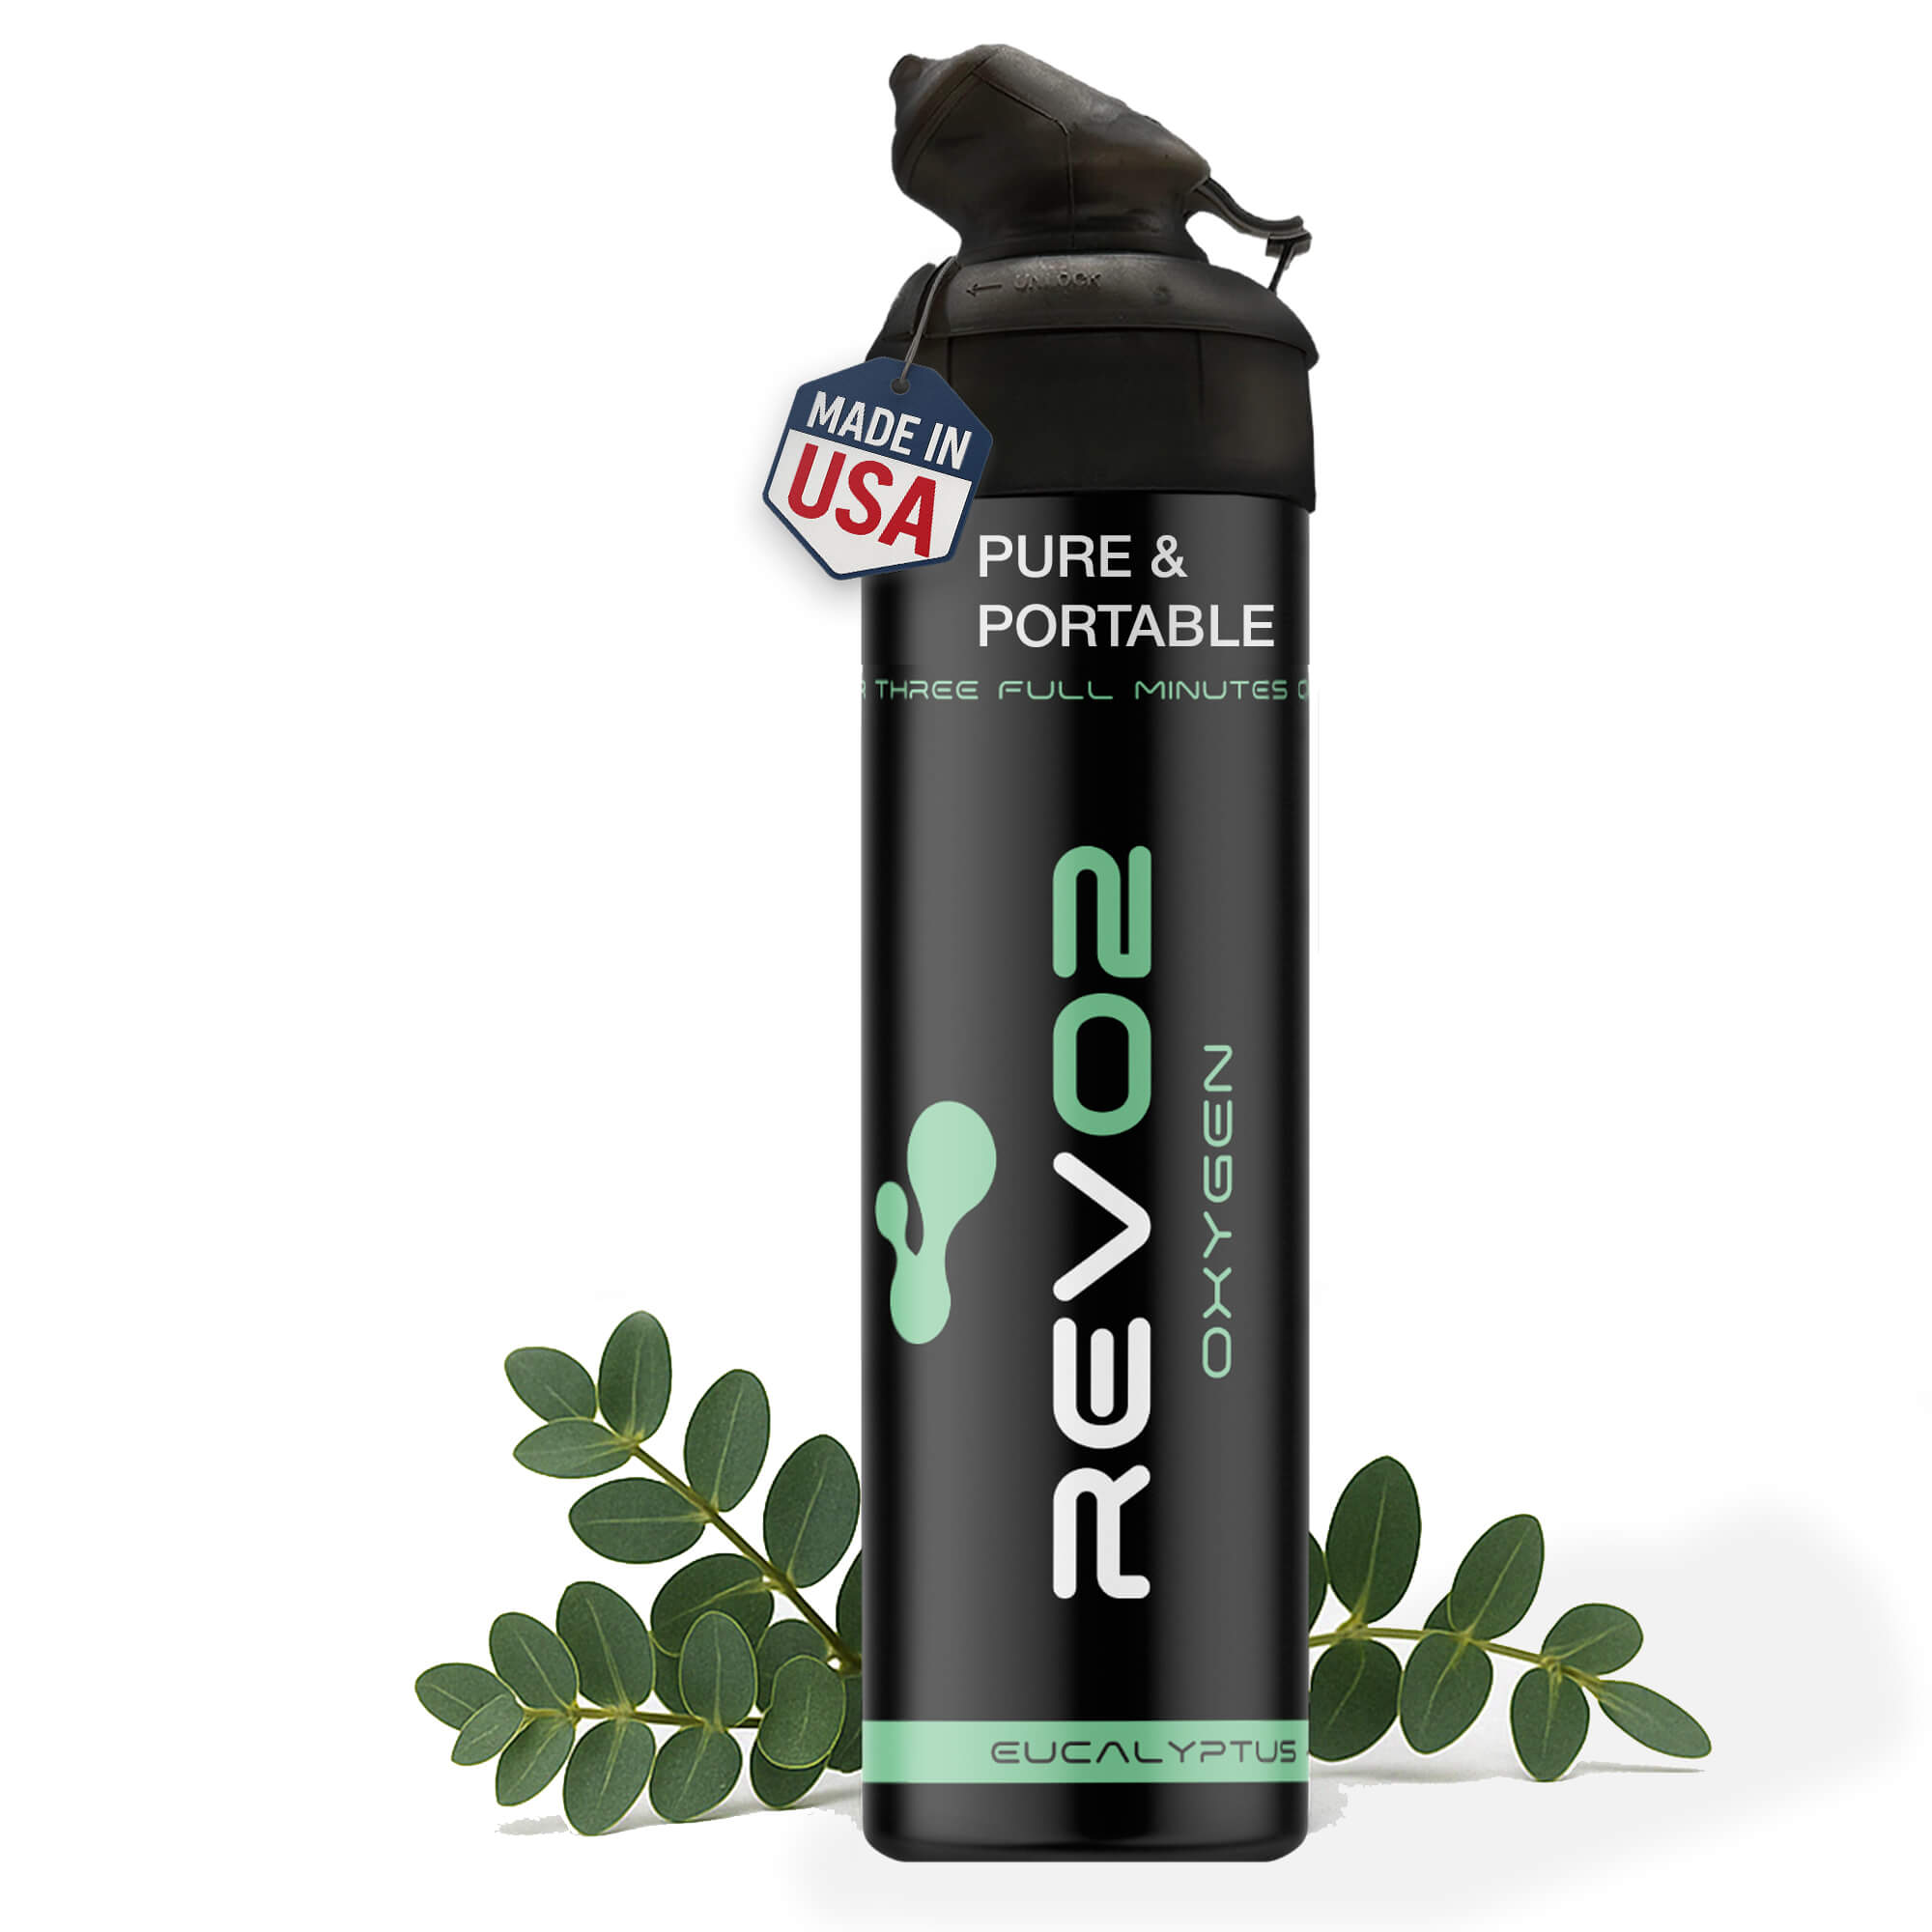
Portable canned oxygen (such as Revo2):
- Delivers 98% pure oxygen for short-term inhalation, providing rapid but temporary relief from symptoms like headache, fatigue, and breathlessness at altitude.
- Most useful for post-ascent recovery at a hut or camp, during sudden fatigue on a rest day, or as a short-term support while descending to a lower elevation.
- Does not produce the red blood cell adaptations or breathing adjustments of true acclimatization. Think of it as a recovery adjunct, not a physiological shortcut.
- Revo2’s zero-leak mouthpiece design means you inhale the full dose without waste, which matters when you are managing a limited supply at altitude.
- Review how to use supplemental oxygen on summit attempts for deployment timing and dosing guidance.
Pulse oximeters:
- Measure peripheral oxygen saturation (SpO2), a proxy for how well your blood is carrying oxygen.
- At altitude, a gradual decline in SpO2 over several days is more informative than a single low reading. Many healthy people show SpO2 readings in the low 80s at high altitude without symptoms.
- Useful for monitoring trends, not for diagnosing altitude illness on their own.
Altitude tents and hypoxic devices:
- Simulate sleeping at altitude by reducing the oxygen fraction in a sealed sleeping environment.
- Can produce modest acclimatization benefits with consistent use over several weeks, but require significant time investment and cost. They are most practical for elite athletes or expedition climbers with months of preparation time.
- For most recreational hikers, the same investment of time and money is better spent on progressive pack hikes and a well-structured itinerary with built-in acclimatization days.
Consult a clinician before using any supplemental oxygen device if you have a cardiopulmonary condition. For general healthy hikers, portable oxygen canisters are a low-risk adjunct when used as directed.
Nutrition, hydration, and recovery at altitude
Your body’s fuel and recovery needs shift meaningfully at altitude and during high-volume training. Getting these right is the difference between arriving at base camp energized and arriving depleted.
Carbohydrates are your priority fuel at altitude. Carbohydrate metabolism requires less oxygen per unit of energy produced than fat metabolism, which is a genuine physiological advantage when oxygen availability is reduced. During heavy training weeks and on the mountain itself, shift your plate toward complex carbohydrates: oats, rice, sweet potatoes, whole-grain bread, and fruit. This is not a license to avoid protein or fat, but carbs should be the dominant macronutrient during peak training and on trek.
Hydration at altitude:
- Altitude increases respiratory water loss because you breathe faster and the air is drier.
- Dehydration worsens altitude symptoms and impairs cognitive function, which matters when you are navigating technical terrain.
- A practical target during training is 2–3 liters of water per day, increasing to 3–4 liters on heavy training days and at altitude. Electrolyte additions (sodium, potassium, magnesium) help retain fluid and prevent cramping on long days.
- Test your hydration strategy during specificity hikes, not for the first time on the mountain.
Recovery strategies that actually move the needle:
- Sleep 7–9 hours per night. Sleep is when your body repairs muscle tissue and consolidates the aerobic adaptations from training. Cutting sleep to fit in more sessions is counterproductive.
- Aim for 0.7–1.0 grams of protein per pound of bodyweight daily during heavy training weeks to support muscle repair.
- Use active recovery sessions (easy 20–30 minute walks) on rest days rather than complete inactivity. Light movement clears metabolic waste and reduces next-day soreness.
- Foam rolling and soft-tissue work on the quads, IT band, calves, and hip flexors after long sessions reduces tightness and keeps your movement quality high through the full 12 weeks.
Pre-hike and on-trail fueling:
- Eat a carbohydrate-rich meal 2–3 hours before a long training session or summit day (oatmeal with banana, rice with eggs, or whole-grain toast with nut butter).
- On trail, eat small amounts every 60–90 minutes rather than waiting until you feel hungry. Altitude suppresses appetite, so hunger is an unreliable cue.
- Test every snack and meal during training hikes. Altitude can change how your gut tolerates foods you normally eat without issue.
Key Takeaways
Effective physical conditioning for elevation hikes requires a progressive 8–12 week plan that builds aerobic capacity, leg and core strength, and trail-specific movement patterns simultaneously, with acclimatization planned into the itinerary itself.
| Point | Details |
|---|---|
| Start 8–12 weeks out | Begin Zone 2 cardio, twice-weekly strength work, and progressive pack hikes well before your trip date. |
| Zone 2 dominates cardio | Roughly 60–70% max heart rate sessions build the aerobic base that lowers altitude’s physiological cost. |
| Eccentric strength matters | Slow eccentric squats and single-leg step-downs protect knees on descent, the most common source of trail injury. |
| Acclimatization is irreplaceable | Training builds capacity; gradual ascent and “climb high, sleep low” produce the physiological adaptations that prevent altitude sickness. |
| Revo2 as an adjunct | Revo2 portable canned oxygen supports short-term recovery and symptom relief at altitude, used alongside, not instead of, proper acclimatization. |
What most hikers get wrong about altitude preparation
The conventional wisdom treats altitude preparation as a cardio problem. Train harder, run more, get fitter, and the mountain will feel easier. That framing is partially right and mostly incomplete.
Fitness does matter. A larger aerobic engine genuinely lowers the relative effort of every step above 10,000 feet. But the hikers who struggle most at altitude are often not the least fit. They are the ones who arrived fit, skipped acclimatization days because they felt strong, and then hit a wall at 14,000 feet that no amount of training could have prevented. Fitness can mask early altitude symptoms. That is not a feature.
The second gap most hikers miss is downhill conditioning. Uphill training gets all the attention because it is the part that hurts during the effort. Downhill training is the part that prevents you from hurting for three days afterward. Targeted eccentric work and single-leg control exercises significantly lower the risk of knee pain and reduce post-hike soreness in a way that simply hiking more uphill never will.
The third overlooked variable is specificity. A runner with a strong VO2 max who has never hiked with a loaded pack will be humbled by the movement demands of a 25-pound pack on uneven terrain. The body adapts to the exact demands it trains for. Weekly progressive pack hikes are the highest-specificity training mode available, and they are the best predictor of how you will actually perform on the trail.
The plan in this guide addresses all three gaps. Follow it progressively, respect the taper, and build your acclimatization days into the itinerary before you book flights.
Revo2 portable oxygen for altitude hikers
When you have done the training and planned the acclimatization days, there is still one practical tool worth carrying: Revo2 portable canned oxygen. At camp after a long ascent, or during a rest day when fatigue hits harder than expected, a few inhalations of 98% pure oxygen can provide real short-term relief from the breathlessness and low-energy feeling that altitude brings.
Revo2 canisters are compact, lightweight, and designed with a zero-leak mouthpiece so every breath delivers the full dose. Available in peppermint, lemon, and eucalyptus blends, they fit easily into a pack lid or hip belt pocket. The product is not a substitute for acclimatization, and Revo2 is clear about that. It is a recovery adjunct, the kind of practical support that makes a hard day more manageable without creating false confidence about altitude readiness. For hikers who want to understand safe and effective use, Revo2’s guide on how to use canned oxygen covers dosing and timing in plain language. When you are ready to add it to your kit, browse the full hiking oxygen range and choose the format that fits your pack and your trip.
Useful sources and further reading
The following sources informed this guide. Each one adds a distinct layer to the preparation picture, from training structure to altitude physiology to practical how-to guidance.
- How to Train for High Altitude Hiking: A Complete Plan — Practical breakdown of cardio, strength, and pack-carry programming for altitude-bound hikers, including session frequency and progressive overload principles.
- High Altitude Hiking: Complete Training & Safety Guide — Covers 12-week program structure, nutrition at altitude, and hydration guidance with a field-tested perspective.
- How to Train for High-Altitude Climbing: A Complete Program — Detailed guidance on pack-weight progression and the best sea-level substitutes for mountain-specific training.
- Training For Elevation: 11 Rules To Prep For Mountain Hikes At Sea Level — Zone 2 intensity distribution and flat-terrain training substitutes explained clearly for non-mountain residents.
- Altitude Acclimatization and Physiology (journal article) — Peer-reviewed overview of the physiological mechanisms behind acclimatization and the limits of sea-level training.
- Elevation Training for Hikers Without Mountains — Addresses the two-problem structure of altitude preparation (aerobic engine plus acclimatization planning) for hikers without local hills.
- Training for Altitude at Sea Level: What Actually Works — Honest assessment of what sea-level training can and cannot produce, with clear guidance on acclimatization planning.
- How to Train for High Altitude Hiking: Fitness vs. Acclimatisation — Draws a clear distinction between physical fitness preparation and acclimatization, helping hikers set realistic expectations.
- PubMed: Altitude and Exercise Performance — Peer-reviewed research on exercise physiology at altitude, supporting the aerobic base and VO2 max guidance in this guide.
- PubMed: Acclimatization Strategies and Outcomes — Research on acclimatization protocols and their outcomes, relevant to the ascent-rate and sleep-low recommendations.
For medical concerns, cardiopulmonary conditions, or questions about altitude medication, consult a qualified clinician before your trip. These sources are for general preparation guidance only.