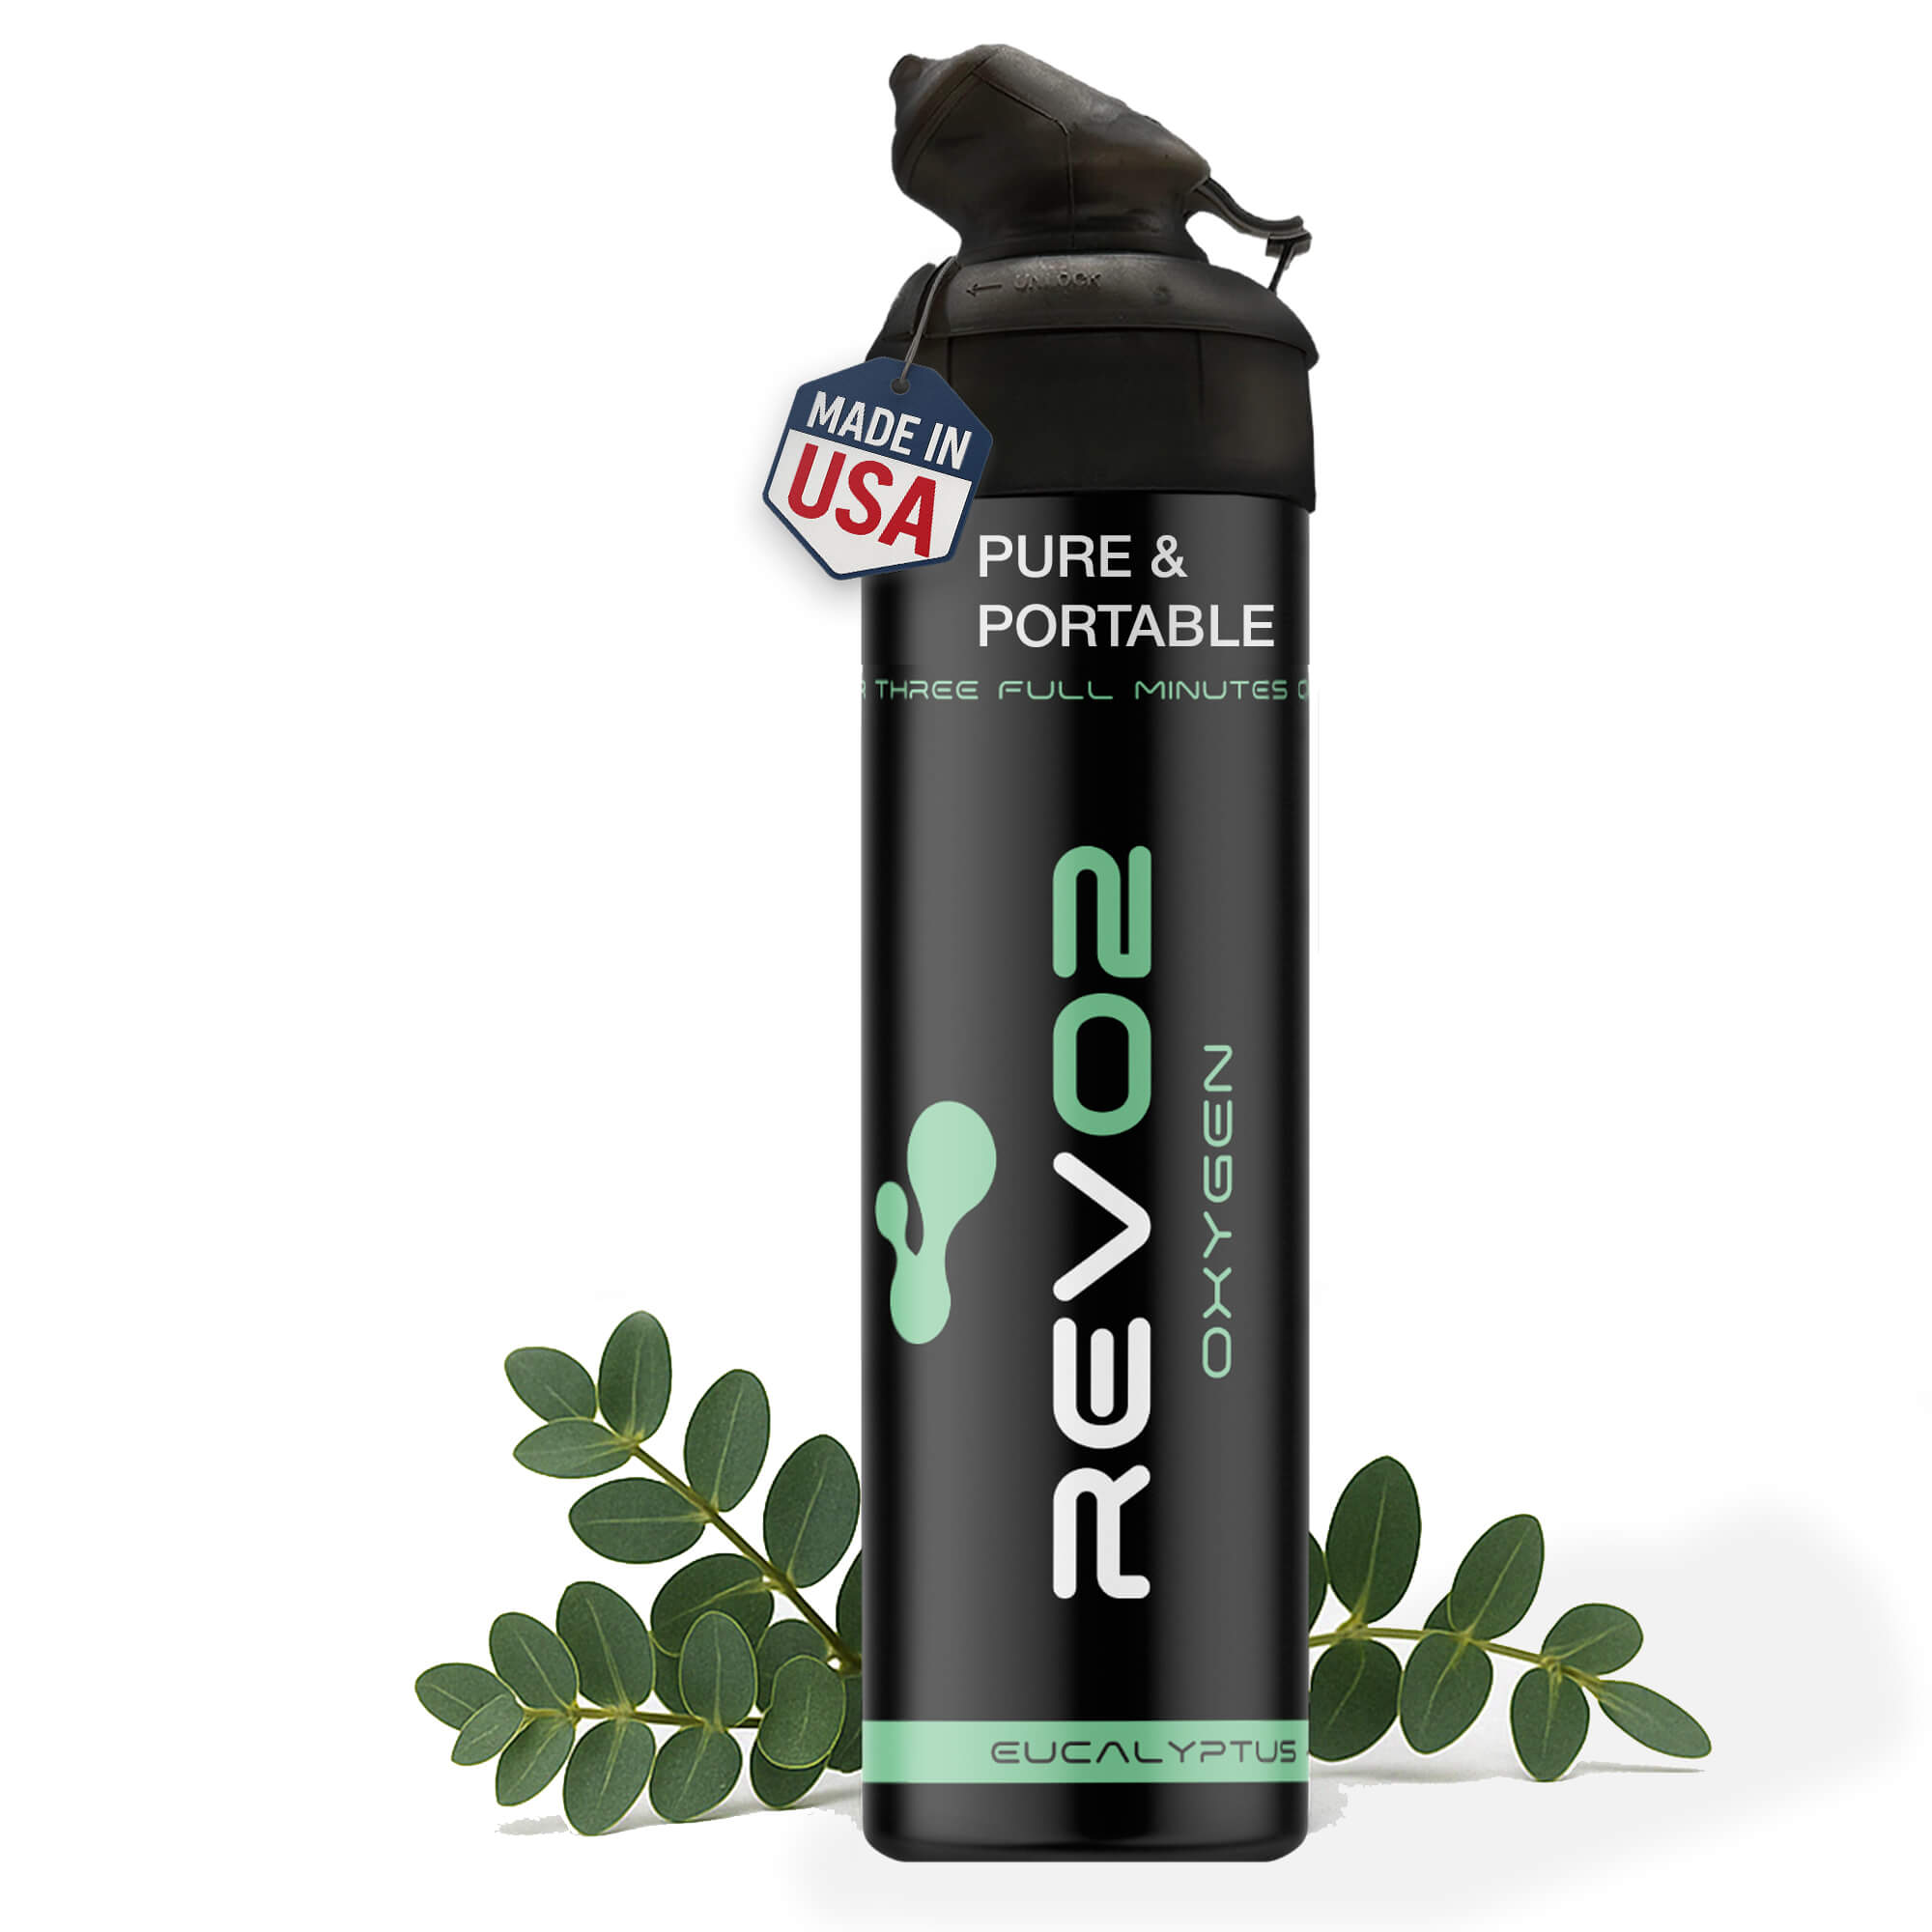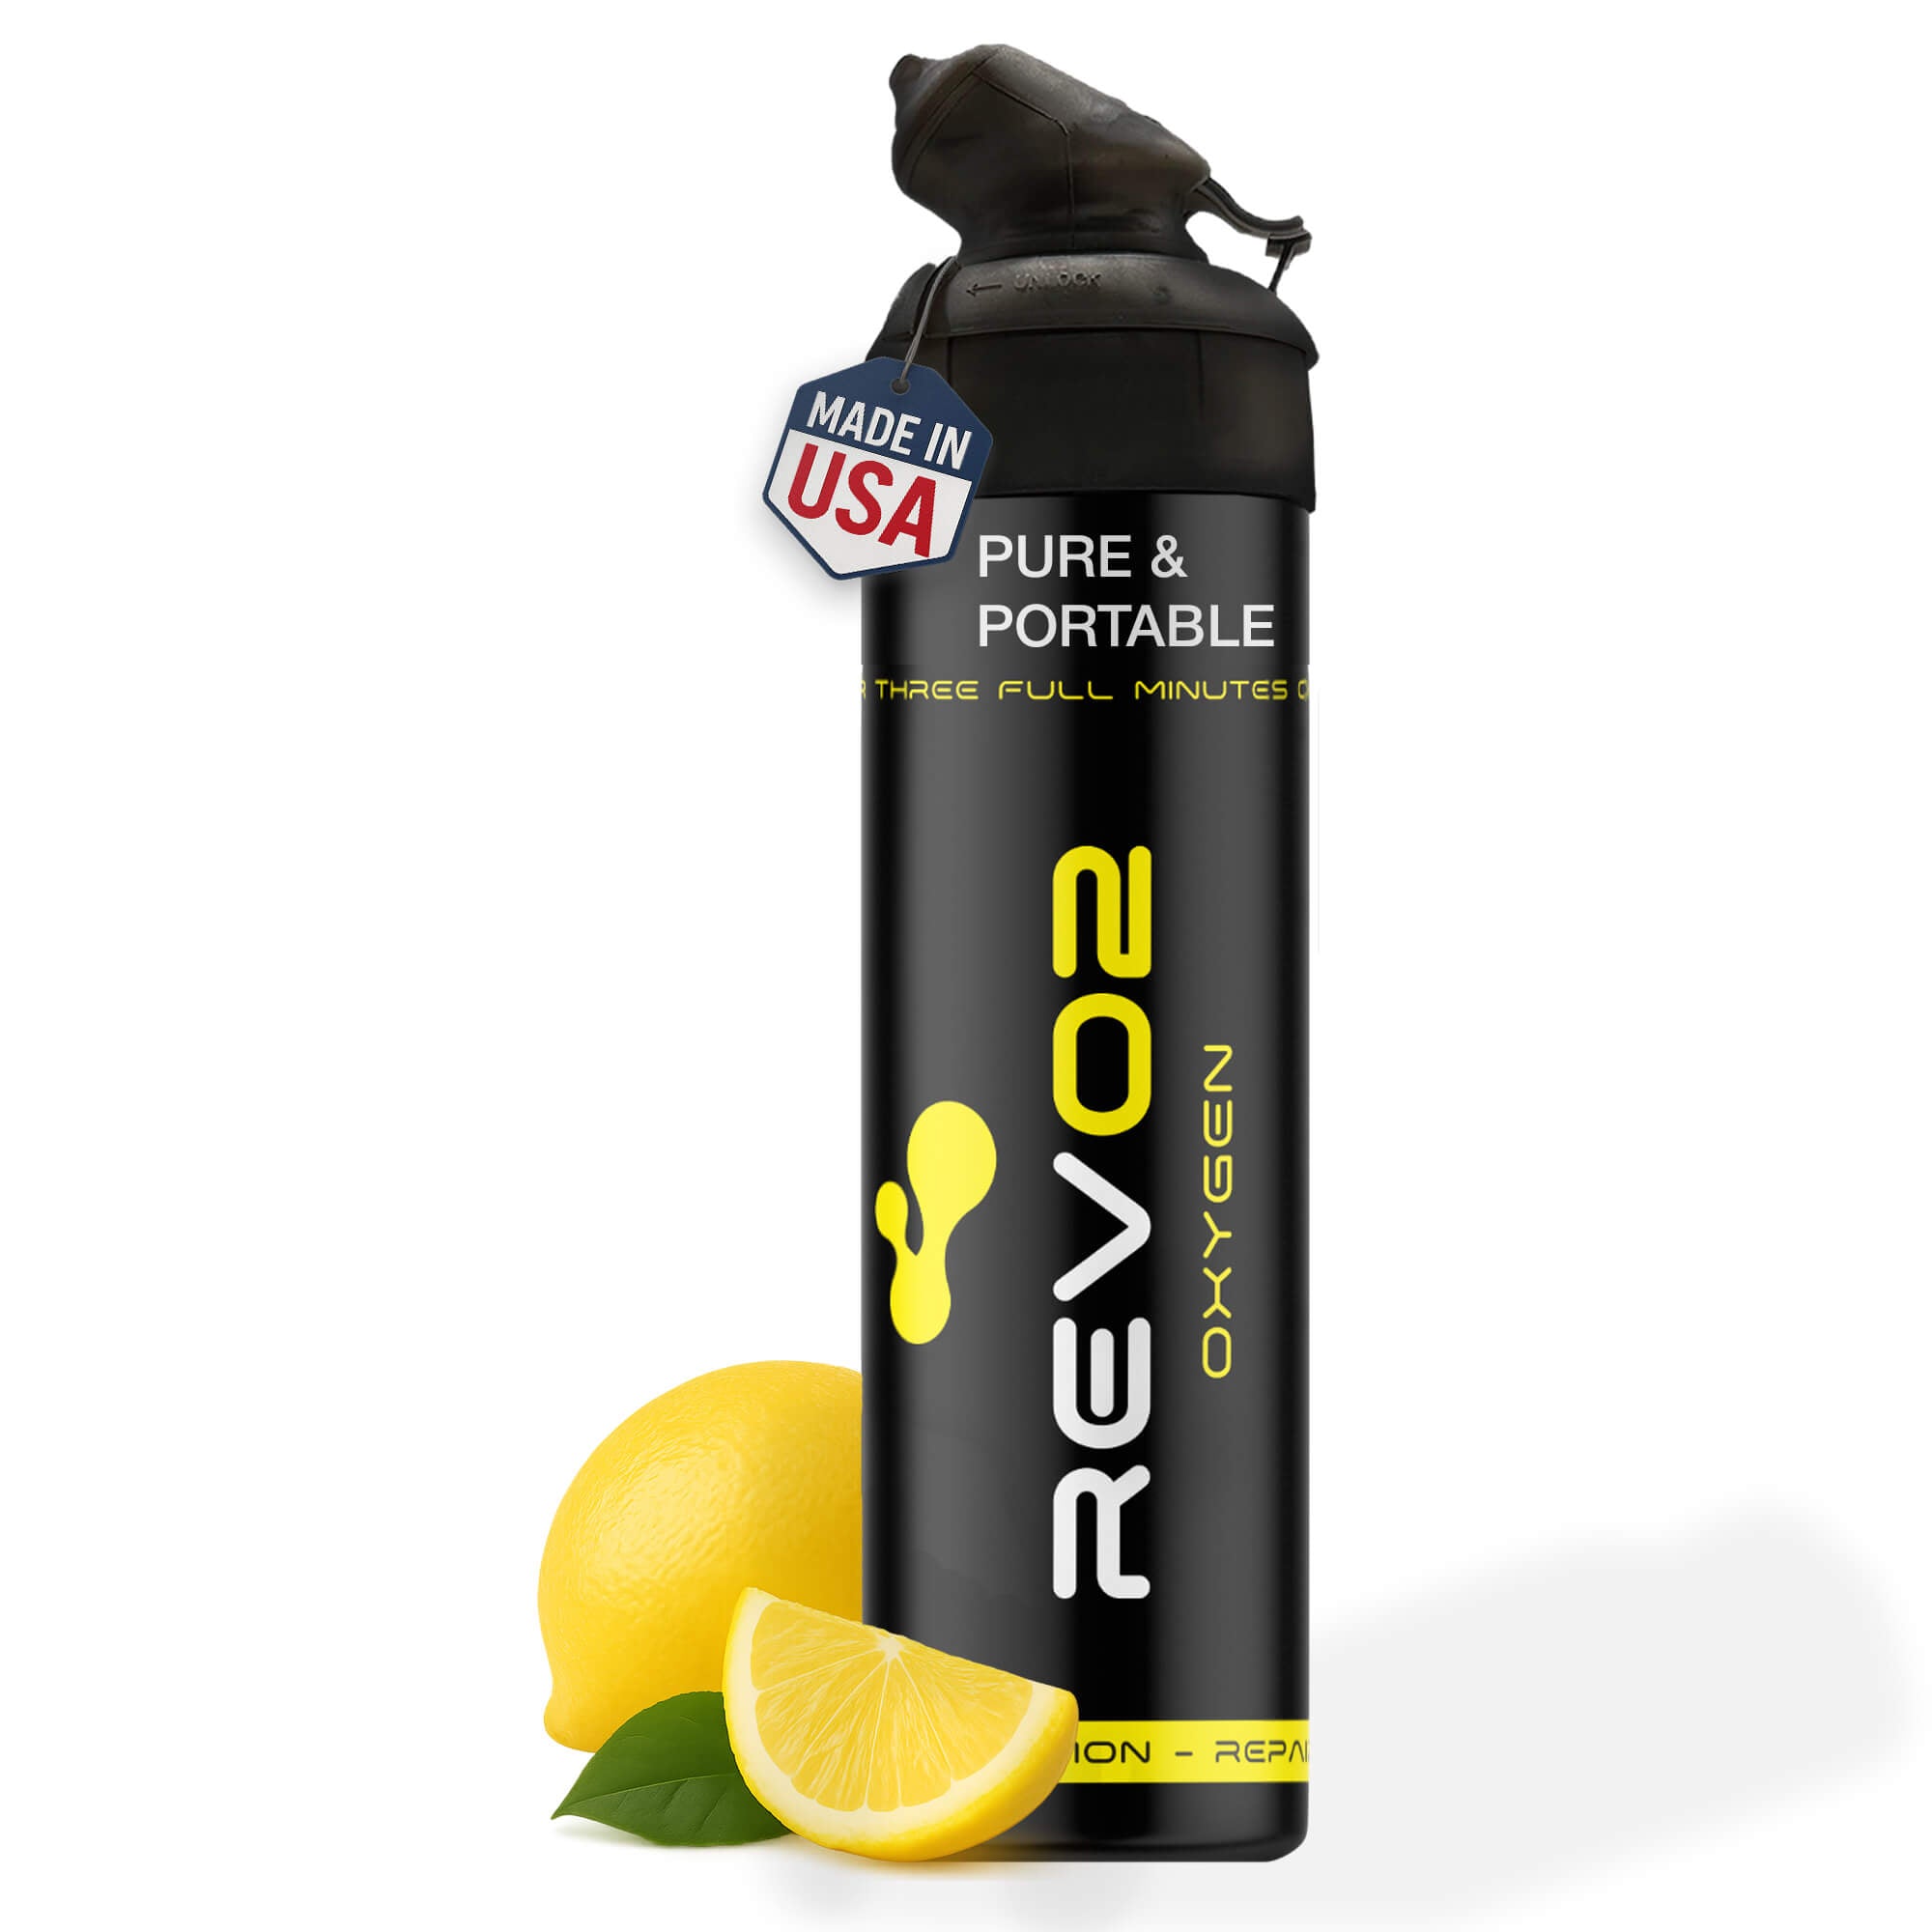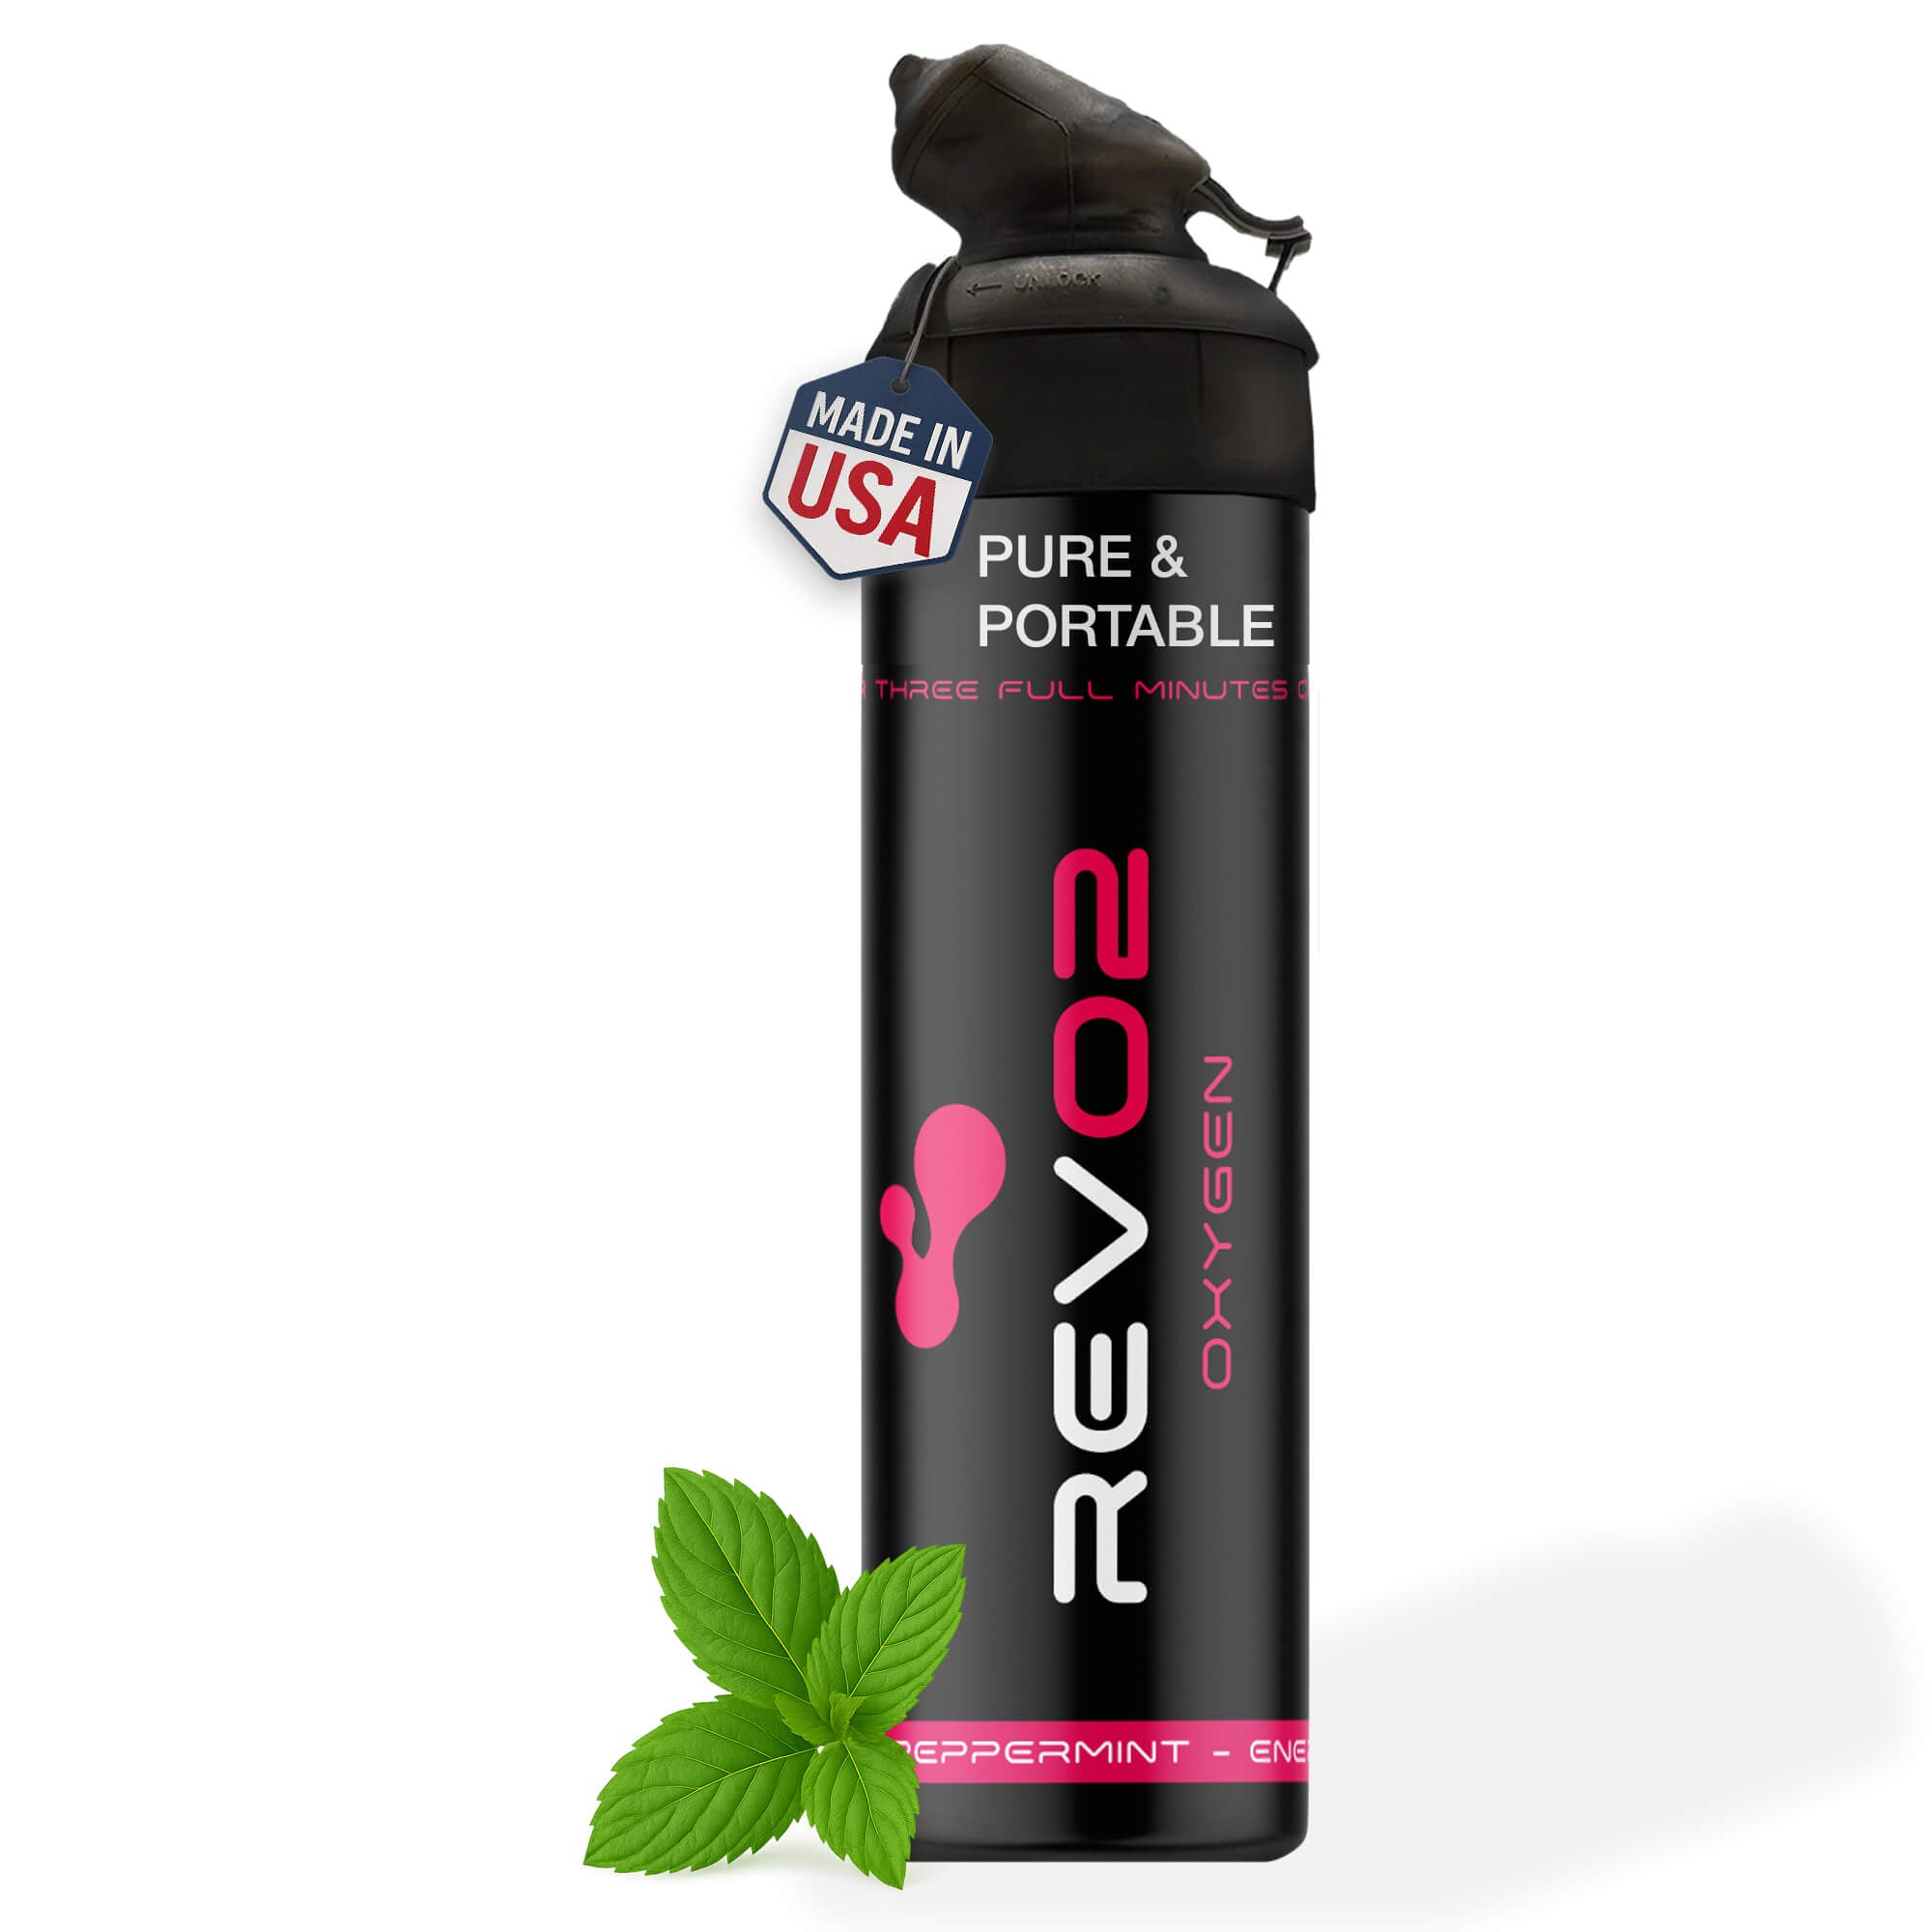

The non-negotiables for high-altitude survival are a layered clothing system, double or expedition-grade boots, a 4-season shelter with a sleep system rated to at least -20°C, a reliable stove and insulated hydration setup, navigation and satellite communication, a medical and altitude illness kit, technical gear matched to your route, and a redundancy plan that includes supplemental oxygen support like Revo2 canned oxygen.
Here is the short checklist to build from:
- Merino wool or synthetic base layers (top and bottom)
- Gore-Tex hardshell jacket and pants
- Down belay parka and insulated mittens
- Double or triple mountaineering boots with removable liners
- 4-season geodesic tent or bivy sack
- Expedition sleeping bag rated to -30°C or colder
- White-gas or multi-fuel stove with a heat-exchanger pot
- Wide-mouth insulated Nalgene bottles with insulated covers
- Topographic map, compass, and GPS unit
- Two-way satellite messenger with SOS capability
- Pulse oximeter and altitude illness medications (as prescribed)
- Crampons, ice axe, and mountaineering harness (route-dependent)
- Revo2 canned oxygen for short-term oxygenation support
- Category 4 glacier glasses with side shields
- Multi-tool, duct tape, spare batteries, and repair patches
The three non-negotiables are boots, your sleep system, and your medical/oxygen plan. Test everything in cold conditions before you leave, and pack at least one spare for every failure-prone item.
Table of Contents
- 2. What shelter and sleep systems you need at extreme altitude
- 3. How to keep your stove running and your body hydrated at altitude
- 4. Navigation, communication, and signaling gear that works when cell service doesn’t
- 6. Medical kit examples, altitude illness protocols, and safe use of supplemental oxygen
- 7. Eye protection and skin care at altitude — what you actually need
- 8. Tools, repair kit, and redundancy — the gear that saves the gear
- 9. How to weigh safety against pack weight — a practical prioritization framework
- 10. Pre-trip testing and a final packing checklist before you leave
- Key Takeaways
- What experienced expedition leaders actually prioritize
- Revo2 portable oxygen: a practical field-support option for your expedition kit
- Useful sources and further reading
2. What shelter and sleep systems you need at extreme altitude
Shelter is the second most important survival layer after footwear. A failed tent or an inadequate sleeping bag at high camp can turn a manageable storm into a life-threatening situation within a single night.
Expedition-grade shelter specs from Explore All About Nepal place the emphasis on 4-season geodesic tents with reinforced aluminum or carbon poles, snow-shedding dome geometry, and a double-wall design that reduces condensation buildup inside the sleeping area. For solo or ultralight objectives, a high-quality bivy sack paired with a down sleeping bag is a viable alternative, though it offers less protection in sustained wind and no space to manage gear or cook.
Sleeping bags and pads:
- Expedition bags rated to -20°C to -40°C are standard for high camps; hydrophobic down treatments (e.g., DriDown or DownTek) reduce moisture absorption in humid conditions
- A sleeping bag liner adds 5–15°F of warmth and protects the bag from body oils, extending its useful life
- For extreme camps, a dual-pad system is the correct approach: a closed-cell foam pad underneath an insulated inflatable pad; target a combined R-value of R≥5.0 to prevent conductive heat loss through snow and ice
Redundancy for the sleep system:
- Store sleeping bag and liner in a waterproof dry bag inside your pack
- Vapor-barrier liners are worth considering on extended expeditions where damp conditions are unavoidable
| Use case | Recommended temp rating | Pad R-value | Typical weight |
|---|---|---|---|
| Lower-camp trekking (8,000–12,000 ft) | -10°C to -20°C | R ≥3.0 | 3–4 lbs |
| High camp (12,000–18,000 ft) | -20°C to -30°C | R ≥5.0 | 4 lbs |
| Summit night (18,000+ ft) | -30°C to -40°C | R 5.0+ | 5–7 lbs |
The Global Summit Guide’s Everest gear list reinforces the redundancy principle here: carry a spare stuff sack for your sleeping bag and keep it separate from your main pack in case of a load-carry accident.
3. How to keep your stove running and your body hydrated at altitude
Maintaining hydration and caloric intake is directly tied to altitude tolerance. Dehydration accelerates the onset of acute mountain sickness (AMS), and a stove that fails in freezing temperatures means no water, no warm food, and a rapid deterioration in your ability to function.
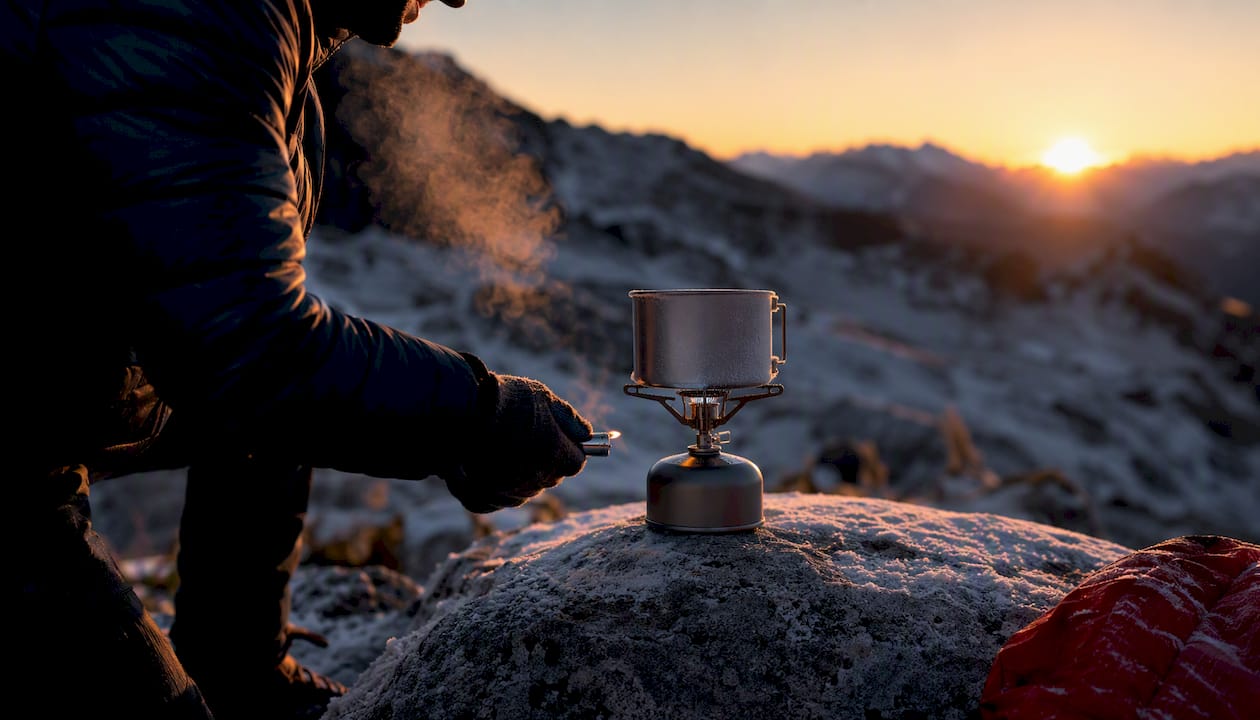
Outside Online’s high-altitude packing guidance is clear on stove selection: canister stoves lose pressure in cold conditions and can fail to ignite reliably below freezing. White-gas or multi-fuel stoves maintain consistent pressure regardless of temperature and are the preferred choice for melting snow at high camps. A heat-exchanger pot (such as those used with integrated canister systems at lower altitudes) significantly improves fuel efficiency when melting large volumes of snow.
Hydration strategy:
- Hydration bladders freeze quickly in extreme cold; wide-mouth insulated Nalgene bottles inside an insulated cover or tucked inside your parka are the reliable alternative
- Carry a thermos filled with warm fluid for sipping during rest stops without needing to re-boil
- Electrolyte packets (Nuun, Liquid I.V., or similar) help replace sodium and potassium lost through respiration and sweat at altitude
Nutrition examples:
- High-calorie, low-prep foods: nut butters, energy bars (Clif, ProBar), dark chocolate, and hard cheese
- Dehydrated meals for camp: Mountain House or Backpacker’s Pantry options that require only boiling water
- Appetite suppression is common above 12,000 feet; plan for higher caloric density per ounce rather than volume
Pro Tip: A practical fuel-planning rule: calculate the number of days multiplied by the estimated melt time per liter of water (roughly 10–15 minutes per liter at altitude), then add 25% for cold-start inefficiency and wind. Pack spare O-rings and a stove jet for any multi-day trip — a failed seal is a common and easily preventable failure point.
4. Navigation, communication, and signaling gear that works when cell service doesn’t
When you are above treeline on a remote peak with no cell signal, your navigation and communication gear is the only link between you and a rescue team. Carry both low-tech and high-reach systems, because each covers the failure modes of the other.
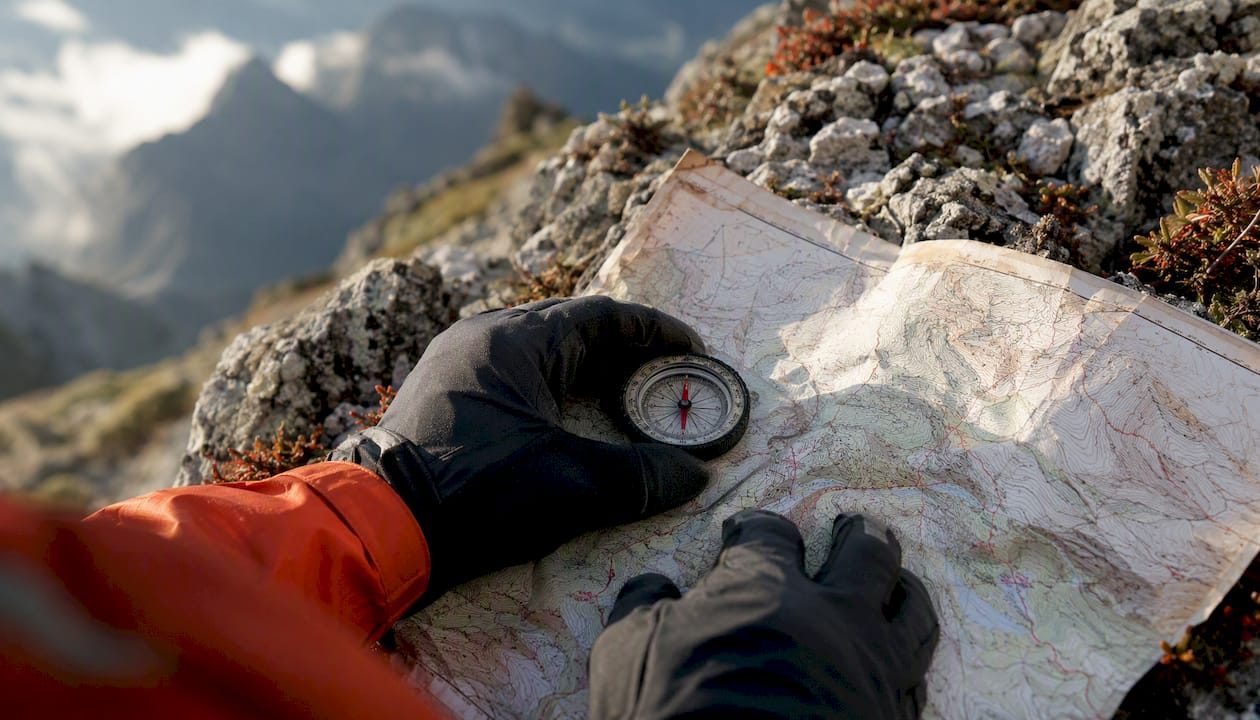
The National Park Service’s day-hike preparation guidance specifically recommends carrying a paper topographic map and a reliable compass even when using GPS or satellite devices. A GPS unit with dead batteries or a cracked screen is useless; a map and compass work in any condition if you know how to use them.
Navigation and communication examples:
- Topographic map: USGS 7.5-minute series for your specific area; laminate it or store in a waterproof map case
- Compass: Baseplate compass (Suunto A-10 or similar) with a declination adjustment; practice before the trip
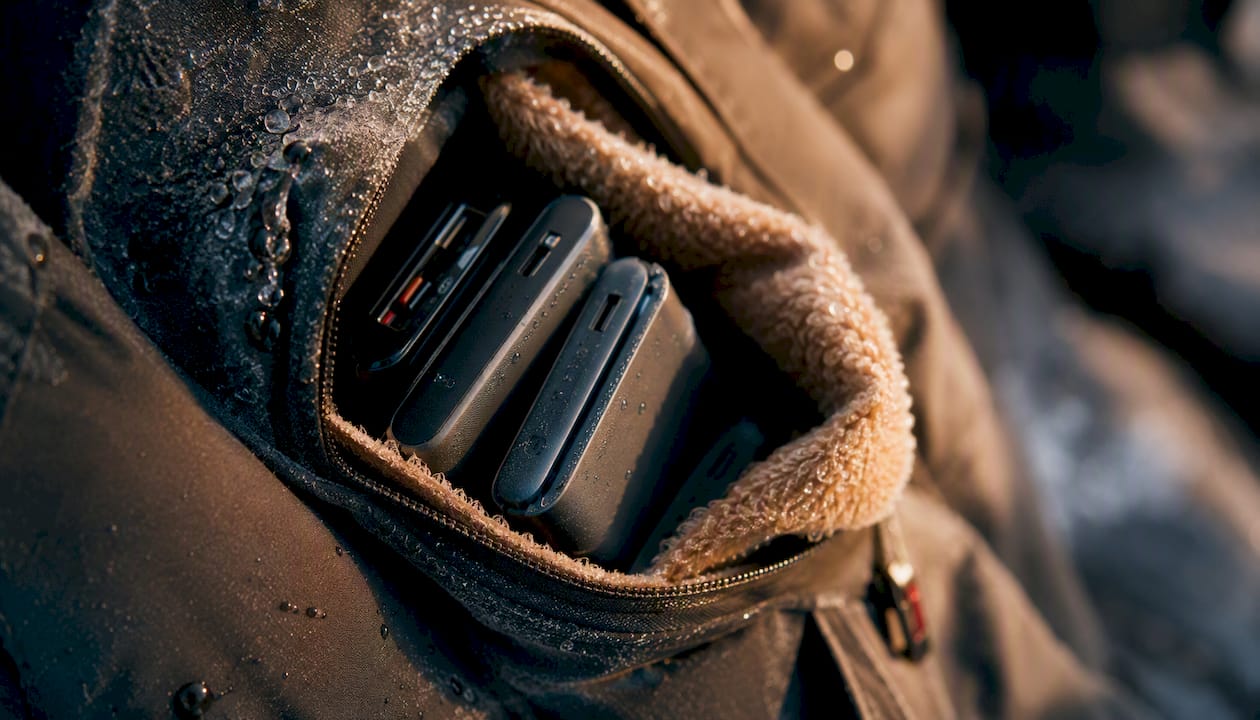
- GPS unit: Garmin inReach Mini 2 or similar; keep it in an insulated inner pocket to preserve battery life in cold
- Two-way satellite messenger: Garmin inReach or SPOT X; two-way SOS capability means rescuers can confirm receipt and communicate back
- PLB (Personal Locator Beacon): A one-way SOS option registered with NOAA; no subscription required but no two-way communication
Cold rapidly degrades battery performance, and PMC research on cold-exposure physiology supports keeping electronics in insulated pouches and rotating spare batteries from a warm inner pocket to devices as needed.
Signaling examples:
- Fox 40 pealess whistle (audible over wind, no moving parts to freeze)
- Signal mirror (effective in sunlight at distances of several miles)
- Brightly colored nylon panel or emergency bivy for aerial visibility
- Strobe light or headlamp with strobe mode for night signaling
Share your signal plan with your trip leader and a contact at home before you depart. Rescue coordination in the U.S. is handled through local county search-and-rescue teams; activating a two-way SOS through a satellite messenger gives them your GPS coordinates immediately.
6. Medical kit examples, altitude illness protocols, and safe use of supplemental oxygen
A group-sized medical kit, a pulse oximeter, altitude-specific medications (where prescribed), and a defined evacuation plan are mandatory for any remote high-altitude trip. This is not optional equipment.
CDC/NCBI Yellow Book guidance on altitude illness supports low thresholds for pharmacologic prophylaxis when staged acclimatization is not possible. Acetazolamide (Diamox) is the most widely used prophylactic agent and requires a prescription in the U.S.; dexamethasone is reserved for emergency treatment of high-altitude cerebral edema (HACE) and should not be used as a routine prophylactic. For groups in remote locations where rapid descent is difficult, a portable hyperbaric pressurization bag (Gamow bag) can simulate a descent of several thousand feet and buy time for evacuation.
Concrete kit items:
- Personal first-aid kit: blister care (moleskin, Leukotape), Israeli bandage, SAM splint, wound closure strips
- Pulse oximeter: a finger-clip SpO2 monitor (Masimo MightySat or similar); an SpO2 reading below 80% at altitude warrants immediate attention and likely descent
- Altitude medications: acetazolamide (if prescribed), dexamethasone (emergency use only), ibuprofen for headache, ondansetron for nausea
- Gamow bag: practical for groups of four or more on extended expeditions
- Revo2 canned oxygen: a field-support option for short-term oxygenation improvement during recovery breaks or mild symptom episodes; see the supplemental oxygen for altitude guide for practical usage notes
Safety thresholds and protocols:
- Descend immediately if a climber shows signs of HAPE (High-Altitude Pulmonary Edema): persistent cough, breathlessness at rest, or pink frothy sputum
- Descend immediately for HACE: severe headache unresponsive to ibuprofen, ataxia (loss of coordination), or altered mental status
- Supplemental oxygen improves oxygenation and cognition short-term but does not replace descent for progressive altitude illness; treat it as a bridge, not a cure
Altitude illness is more common than most trekkers expect. According to NCBI Yellow Book data, AMS affects a significant proportion of travelers who ascend rapidly to altitudes above 8,000 feet, with risk increasing substantially above 11,500 feet. Staged acclimatization, hydration, and prophylactic medication where appropriate are the most effective countermeasures.
Pro Tip: Before using canned portable oxygen in the field, check your pulse oximeter reading first. If your SpO2 is above 85% and you have a mild headache, a short session with Revo2 can ease symptoms during a rest break. If your reading is below 80% or symptoms are worsening, oxygen is a bridge to descent, not a reason to stay. Always have your evacuation plan confirmed before you need it.
7. Eye protection and skin care at altitude — what you actually need
Category 4 glacier glasses with side shields are required equipment on any snow-covered terrain above 10,000 feet. Snow reflects up to 80% of UV radiation, and UV intensity increases roughly 10–12% for every 3,300 feet of elevation gain. Snow blindness (photokeratitis) is painful, temporarily debilitating, and entirely preventable.
Eyewear examples:
- Glacier glasses: Category 4 lenses (transmitting less than 8% of visible light) with wraparound frames and removable side shields; Julbo Sherpa or Cébé Sherpas are widely used expedition standards
- Snow goggles: Ski or mountaineering goggles with spherical or cylindrical lenses for storm conditions and high wind; OTG (over-the-glasses) versions available for prescription wearers
- Anti-fog treatment: Apply to goggle lenses before departure; carry a microfiber cloth in an accessible pocket
Skin protection:
- SPF 50+ broad-spectrum sunscreen applied to all exposed skin, including under the chin and inside the nostrils (reflected UV reaches areas you might not expect)
- SPF 30+ lip balm; carry two or three tubes and rotate them so one is always accessible without removing gloves
- Reapply sunscreen every two hours, more frequently if sweating heavily
Purchase specs to look for:
- UV400 or EN ISO 12312-1 Category 4 rating for glacier glasses
- Wraparound frame geometry to block peripheral UV
- Ventilated frame to reduce fogging during aerobic effort
- Spare pair stored in a separate waterproof hard case
8. Tools, repair kit, and redundancy — the gear that saves the gear
Redundancy saves lives at altitude. The items most likely to fail are also the items you can least afford to lose: gloves, goggles, headlamp bulbs, and batteries. Carry spares for all of them, and organize your pack so the emergency essentials are accessible without unpacking everything.
Essential tools and spares:
- Multi-tool (Leatherman Wave or similar) with pliers, knife, and screwdriver
- Duct tape and Tenacious Tape repair patches for tent fabric, sleeping pad, and clothing
- Sewing kit with heavy-duty thread and a curved needle for harness and pack repairs
- Trekking pole repair sleeve (sized to your pole diameter)
- Spare headlamp (Black Diamond Spot or similar) plus two sets of spare batteries
- Spare stove jet and O-ring kit for your specific stove model
- Crampon spare bail wire and wrench
- Spare gloves (at minimum one extra pair of liner gloves and one extra pair of insulated mittens)
- Spare goggles or glacier glasses in a hard case
Global Summit Guide’s expedition packing list emphasizes testing system compatibility months before departure, not the week before. A crampon bail that doesn’t fit your boot, or a stove jet that doesn’t thread correctly, is a problem you want to discover at home.
Cold degrades battery performance faster than most people plan for, and PMC cold-exposure research supports keeping spare batteries in an insulated inner pocket and rotating them into devices as needed rather than storing them in an outer pocket where temperatures can drop well below freezing.
Pro Tip: Create a written “critical-spares inventory” with your group at least two weeks before departure. Each person lists what spares they are carrying, and the group confirms there are no single points of failure. This takes 20 minutes and has prevented many avoidable emergencies.
9. How to weigh safety against pack weight — a practical prioritization framework
Prioritize safety-critical items first, then layer on comfort items if weight allows. The most common mistake is cutting weight from the wrong category: shaving grams from your sleeping bag or boots to carry a lighter camera or extra snacks.
Tier 1: Non-negotiable (carry regardless of weight)
- Double or triple mountaineering boots with removable liners
- Expedition sleeping bag rated to your objective’s coldest expected temperature
- 4-season tent or bivy sack
- Medical kit with pulse oximeter and altitude medications
- Navigation and satellite communication devices
- Technical gear required by the route (crampons, ice axe, harness)
Tier 2: High-value, worth the weight
- Down belay parka (critical above 14,000 feet)
- White-gas stove with heat-exchanger pot
- Dual sleeping pad system (R≥5.0)
- Revo2 canned oxygen (field-support tool for oxygenation during recovery)
- Spare gloves, goggles, and headlamp
Tier 3: Nice-to-have if weight allows
- Camera or dedicated GPS camera
- Extra comfort food beyond caloric minimum
- Camp shoes or lightweight sandals
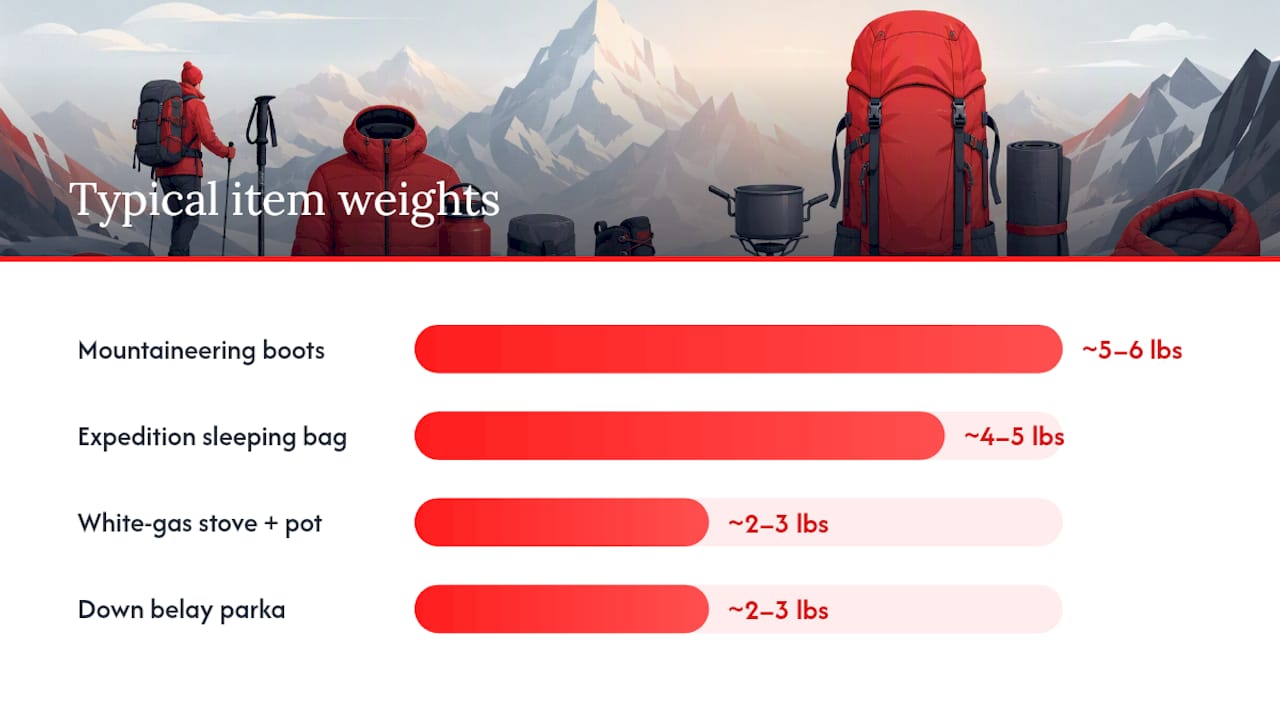
| Item | Safety-critical weight | Lighter alternative | Tradeoff |
|---|---|---|---|
| Double mountaineering boots | ~5–6 lbs/pair | Lightweight trail boot | Frostbite risk; no crampon compatibility |
| -30°C expedition sleeping bag | ~4–5 lbs | -10°C bag | Hypothermia risk at high camp |
| White-gas stove + pot | ~2–3 lbs | Canister stove | Canister may fail below freezing |
| Down belay parka | ~2–3 lbs | Light puffy jacket | Insufficient insulation at rest above 14,000 ft |
Where to invest: Boots and sleeping bags are the two categories where quality directly correlates with survival margin. Spend what you need to here.
Where you can economize: Pack organization (dry sacks, stuff sacks), some mid-layer clothing, and trekking poles can be sourced at lower price points without meaningful safety compromise.
10. Pre-trip testing and a final packing checklist before you leave
Test everything in a cold environment well before departure. A stove that fails to ignite at 10°F, crampons that don’t fit your boots, or a sleeping bag that compresses poorly after a season in storage are all problems you want to find at home, not at 16,000 feet.
4–6 weeks out:
- Test boot and crampon compatibility; walk in crampons on a safe surface with full layering and gloves on
- Sleep in your sleeping bag outdoors or in a cold garage to verify warmth rating and comfort
- Run a full stove burn test: ignite, melt water, and time fuel consumption to calibrate your fuel plan
- Test satellite messenger registration and SOS test mode (most devices allow a non-emergency test)
- Verify evacuation insurance coverage and confirm your emergency contact has your trip plan
2 weeks out:
- Confirm all electronics hold charge in cold conditions; test GPS, satellite messenger, and headlamp
- Run a full layering test under load (weighted pack, uphill movement) to identify pressure points and circulation issues
- Check medical kit expiration dates; refill or replace any expired medications
- Confirm group medical kit contents and assign roles (who carries the Gamow bag, who carries the pulse oximeter)
48 hours out:
- Charge all electronics fully; store spare batteries in an insulated pouch
- Pack Revo2 canned oxygen in an insulated pouch inside your pack, away from extreme cold; confirm can seals are intact
- Verify satellite messenger has a fresh battery and your emergency contacts are loaded
- Seal sleeping bag in a waterproof dry bag; double-check tent pole bag and stake kit
- Confirm evacuation plan with your group and your at-home contact
Day of:
- Check weather forecast one final time and adjust layering plan accordingly
- Confirm pulse oximeter is accessible (not buried in your pack)
- Eat a full, high-calorie breakfast and begin hydrating before you start moving
- Verify every team member has their personal medical kit and knows the group’s turn-back criteria
Key Takeaways
High-altitude survival depends on boots, a cold-rated sleep system, a medical plan with a pulse oximeter and evacuation route, and redundancy across every failure-prone item.
| Point | Details |
|---|---|
| Boots and sleep system first | Prioritize double mountaineering boots and a sleeping bag rated to your objective’s coldest temperature above all other gear. |
| Medical plan is mandatory | Carry a pulse oximeter, altitude medications (as prescribed), and a confirmed evacuation plan before you leave the trailhead. |
| Redundancy prevents emergencies | Pack spares for gloves, goggles, headlamp batteries, and stove parts; test all system compatibility at least four weeks out. |
| Navigation requires two systems | Carry a topographic map and compass alongside your GPS or satellite messenger; cold kills batteries and electronics fail. |
| Revo2 for field oxygen support | Revo2 canned oxygen (98% pure, zero-leak mouthpiece) is a practical field-support tool for short-term oxygenation during recovery breaks, not a replacement for descent or prescribed medical oxygen. |
What experienced expedition leaders actually prioritize
The conventional wisdom on high-altitude gear tends to focus on the glamorous items: the summit boots, the down suit, the satellite phone. What gets less attention is the discipline of testing, and that gap is where most preventable accidents originate.
The single most useful thing you can do before any high-altitude trip is to rehearse failure. Put on your full kit in cold conditions, simulate a crampon problem with gloves on, try to light your stove in wind, and navigate with a map and compass when your GPS battery is dead. These are not exotic scenarios. They happen on real trips, and the people who handle them calmly are the ones who practiced.
Two leadership habits that consistently reduce risk: a strict no-solo movement rule above a defined altitude threshold, and a brief morning gear check where each team member confirms their pulse oximeter reading, hydration status, and any symptoms before the group moves. Neither takes more than five minutes. Both create the kind of situational awareness that catches problems before they become emergencies.
Redundancy is not pessimism. It is the acknowledgment that altitude is an environment where the margin for error is genuinely narrow, and that the best gear in the world is only as reliable as the preparation behind it.
Revo2 portable oxygen: a practical field-support option for your expedition kit
Portable canned oxygen fills a specific and useful role in a high-altitude kit: it temporarily improves oxygen saturation and eases mild symptoms during recovery breaks, pre-summit rest stops, or short cognitive-clarity episodes. It is not a substitute for descent when HAPE or HACE is suspected, and it does not replace prescribed medical oxygen for serious altitude illness.
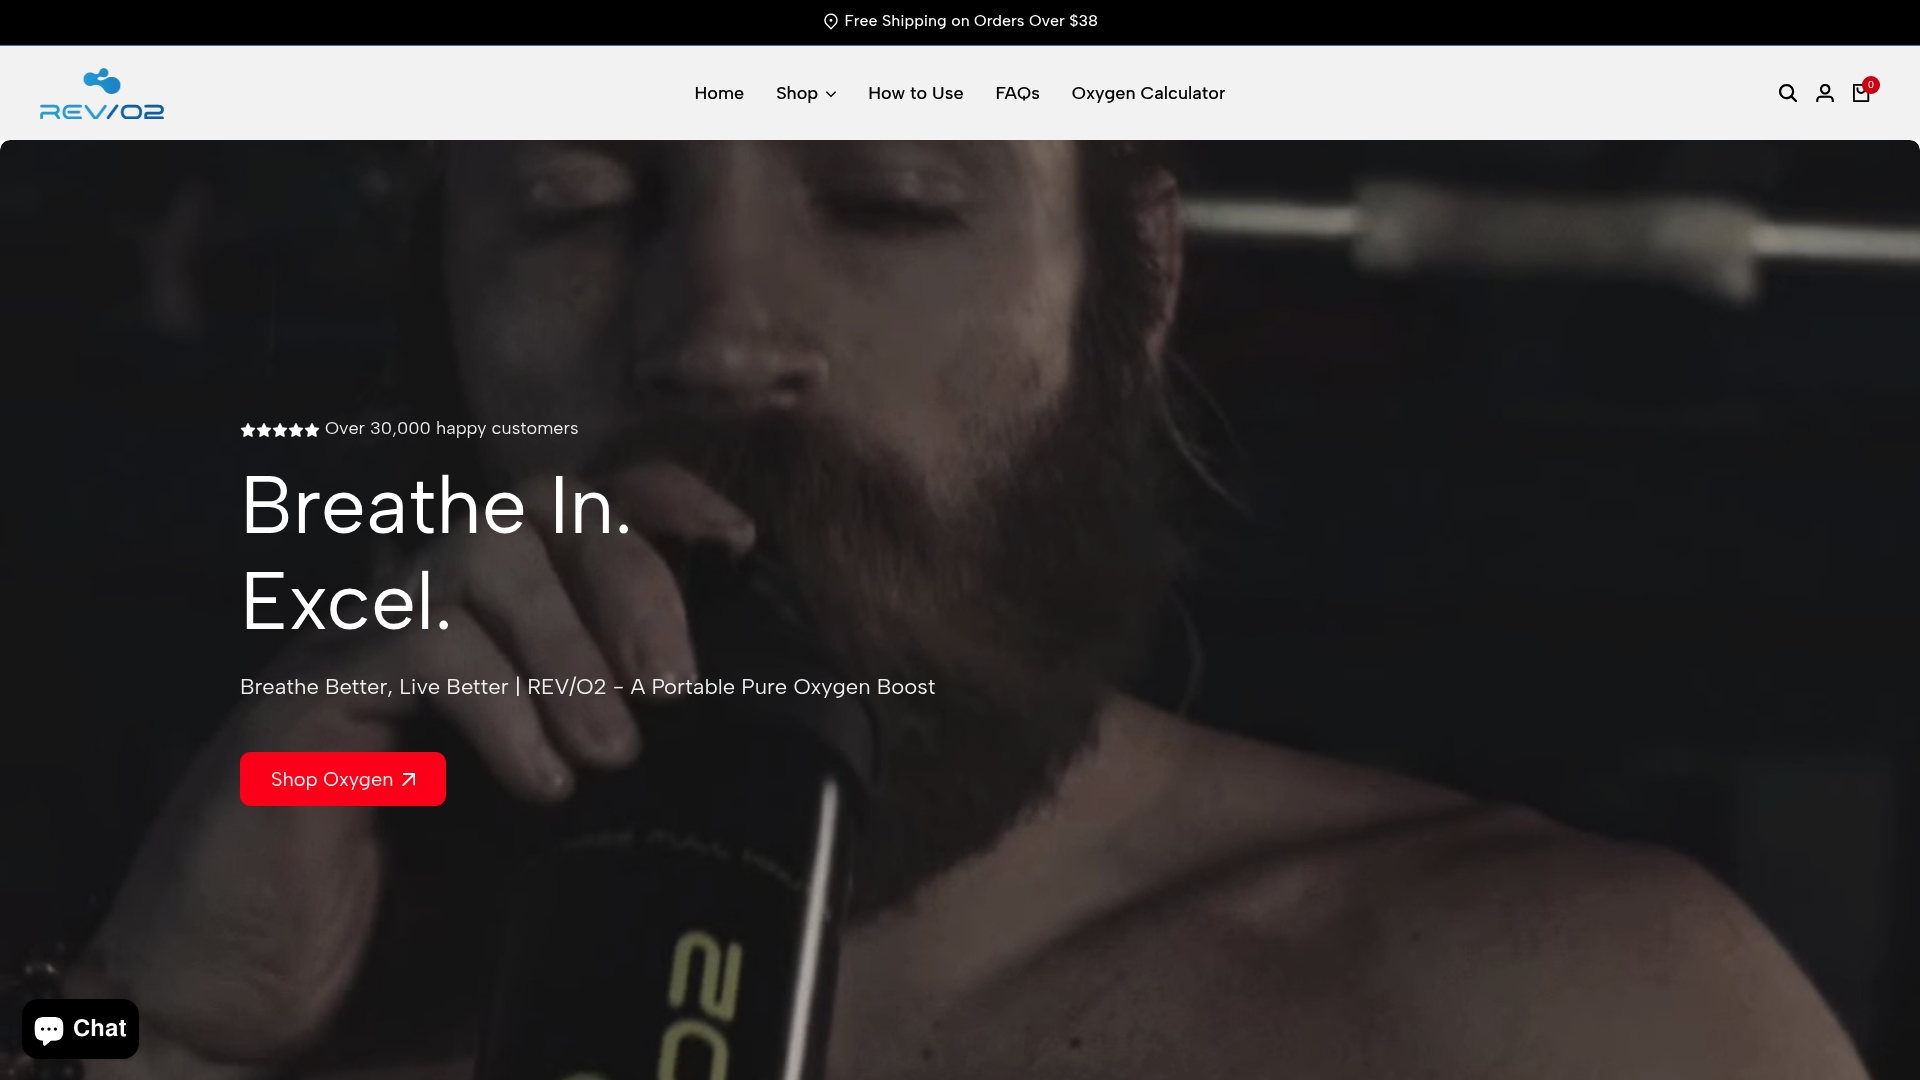
Revo2 delivers 98% pure oxygen through a zero-leak mouthpiece, available in peppermint, lemon, and eucalyptus blends. The design eliminates the mask requirement of traditional medical oxygen systems, making it practical to use quickly during a rest break without removing gloves or unpacking extensively. For hikers and mountaineers managing mild hypoxia symptoms, fatigue, or mental fog at altitude, a short session with Revo2 can restore enough clarity to make a sound decision about whether to continue or descend.
For practical guidance on dosage and field protocols, the how-to guide for supplemental oxygen on summit attempts covers real-world usage scenarios. You can browse the full canned oxygen collection to choose the right format and quantity for your trip length.
Pro Tip: Store Revo2 cans in an insulated pouch inside your pack, not in an outer pocket where temperatures can drop well below freezing. Extreme cold does not damage the oxygen itself, but a frozen valve is harder to operate with gloves on. Keep one can accessible in an inner chest pocket for quick use during rest stops.
Useful sources and further reading
The sources below informed this guide and are worth bookmarking for your own trip planning:
- High-altitude travel and altitude illness — NCBI Bookshelf (CDC Yellow Book excerpt)
- How to Prepare and Pack for a High-Altitude Hike | Outside Online
- High Altitude Camping Gear List: The Ultimate 2026 Guide for Extreme Adventures | Explore All About Nepal
- Mount Everest Gear List: Packing Essentials for High-Altitude Climbing | Global Summit Guide
- High Altitude Trekking Guide: Training, Gear, Safety & Nutrition | Ammonite Adventure
This article provides general information for educational purposes. It is not a substitute for professional medical advice. Consult a physician before using altitude medications, and verify current regulations and safety protocols with the relevant authorities before your trip.